
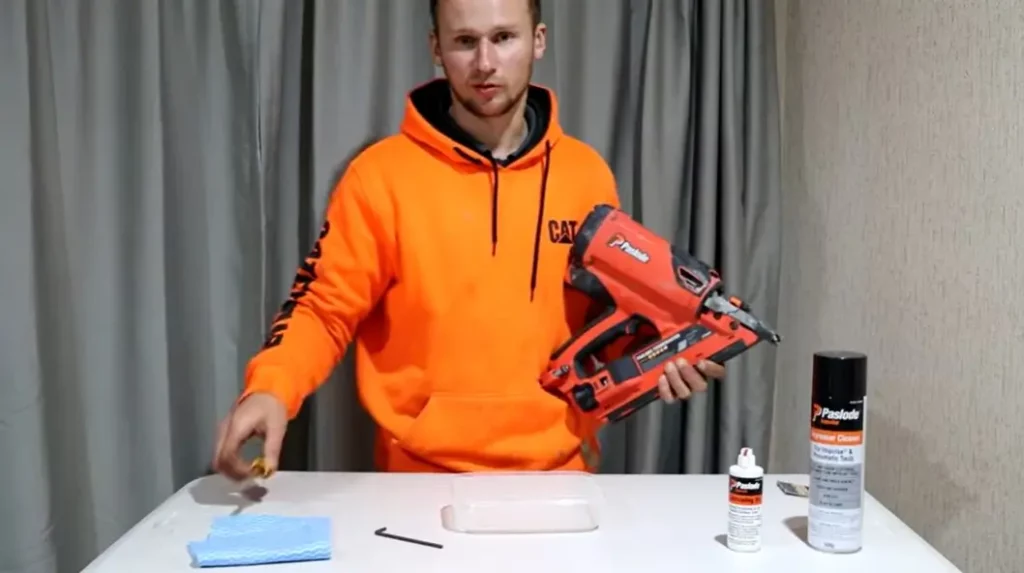
To clean a Paslode nail gun, first disconnect it from the power source and remove any remaining nails. Then, wipe down the exterior with a clean cloth and lubricate moving parts with Paslode oil.
Keeping your Paslode nail gun clean is essential for maintaining its performance and preventing malfunctions. Dirt, sawdust, and debris can accumulate inside and cause issues that could lead to costly repairs.
A clean Paslode nail gun also ensures that it fires smoothly and efficiently, allowing you to work safely and efficiently.
In this article, we’ll walk you through the steps of how to clean a Paslode nail gun so that you can keep it in top condition. Whether you’re a professional carpenter or a DIY enthusiast, read on for our expert tips and tricks.
Safety Precautions
Before diving into the process of cleaning a Paslode nail gun, it’s essential to understand the importance of safety measures. Nail guns are a powerful tool that can easily cause unexpected harm.
Following safety precautions can prevent any unwanted injuries or accidents from occurring.
- Before cleaning the nail gun, make sure to disconnect the battery and fuel cell to prevent accidental firing.
- Wear proper personal protective equipment, including safety goggles, gloves, and ear protection. This equipment will help keep you safe from any flying debris.
- Clean the nail gun in a well-ventilated area to avoid inhaling any fumes from the cleaning solution.
- Keep the nail gun pointed away from yourself and others while cleaning it, especially when removing or inserting any part.
- Ensure you are using the original manufacturer’s parts to make sure the nail gun functions correctly.
- Never disassemble the nail gun entirely. Only dismantle the components necessary for cleaning and reassemble the parts exactly as they were before.
By following these safety precautions, you can have a clean Paslode nail gun that functions correctly and keeps you and those around you secure.
Disassemble The Paslode Nail Gun
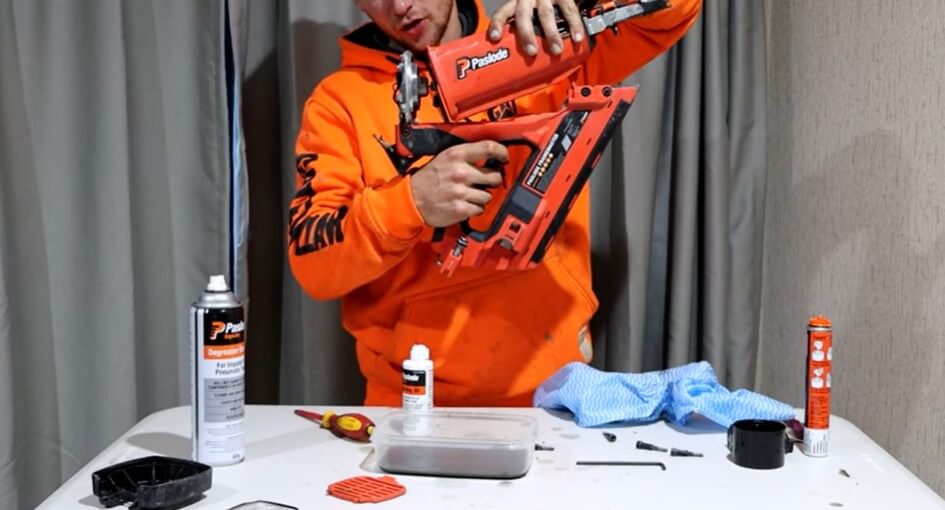
If you own a Paslode nail gun, it’s essential to know how to clean and maintain it properly. Disassembling your Paslode nail gun is the first step. Here are the steps for disassembling a Paslode nail gun:
- Gather the tools you will need, which include a screwdriver set, a soft bristle brush, cleaning solvent, and an air compressor with a blowgun attachment.
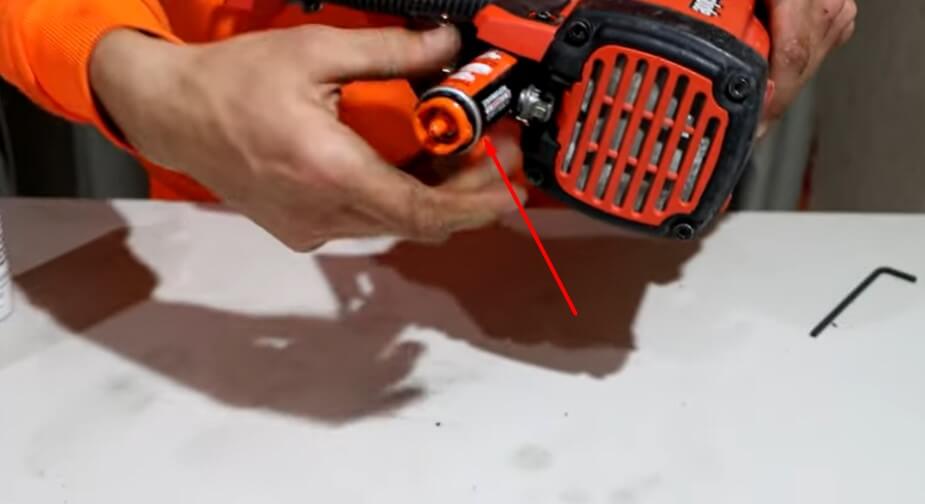
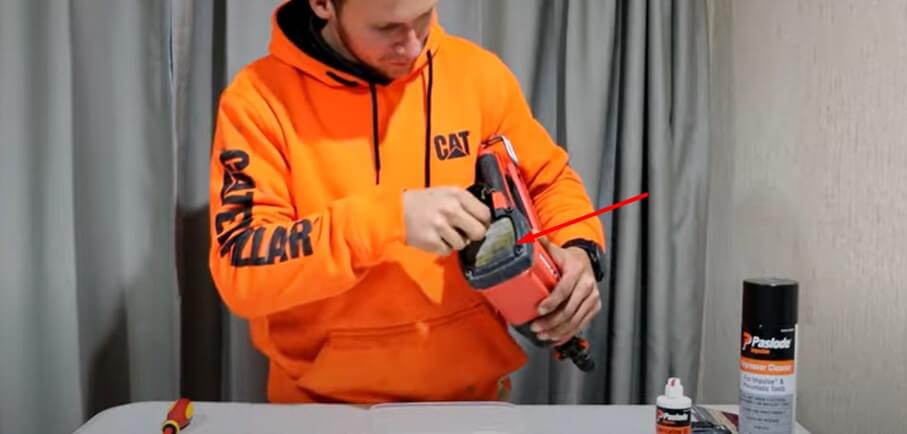
- Disconnect the battery or remove the fuel cell from the nail gun to ensure safety.
- Remove the nails from the magazine, and then remove the fuel canister from the gun’s handle.
- Unscrew the four screws on the top cap of the gun. Use a screwdriver to release the tension on the nail gun spring slowly.
- Carefully take out the adjustable probe and the guide rail.
- Remove the valve plate and inner cylinder from the gun.
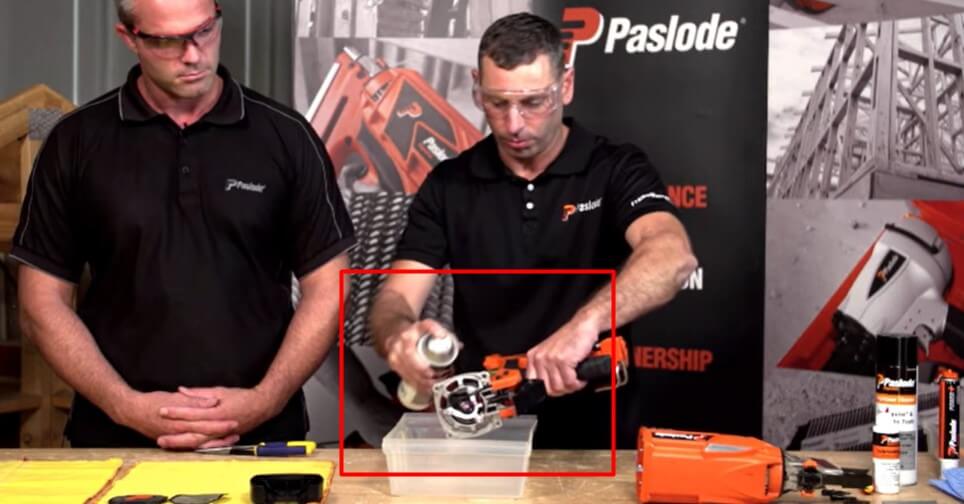
- Clean each disassembled part with a soft bristle brush and cleaning solvent. Make sure you clean the parts thoroughly to remove dirt and grime.
Pro Tips:
- Store all small parts in a tray or container as you disassemble the gun to keep them organized and in one location.
- Take clear photos or notes while disassembling the gun to help you remember how to reassemble it accurately.
- Use a soft-bristled brush to prevent scratching the parts.
- Avoid using harsh chemicals or solvents that may damage or corrode the parts.
Cleaning The Parts
Cleaning a Paslode nail gun can be an essential task to maintain the tool’s longevity. However, when it comes to cleaning the parts, many people get overwhelmed and do not know where to start.
Don’t worry! We will provide a step-by-step guide on how to clean the essential parts of a Paslode nail gun.
Tips For Cleaning The Piston
The piston is a crucial part of a Paslode nail gun that drives the nail into the material. It is essential to clean the piston regularly to maintain the tool’s performance.
Here are some tips for cleaning the piston:
- Remove the piston from the nail gun and clean it with a soft cloth.
- Do not use any sharp or abrasive tools to clean the piston, as they can damage the part.
- Use a small amount of oil on the piston after cleaning to lubricate it.
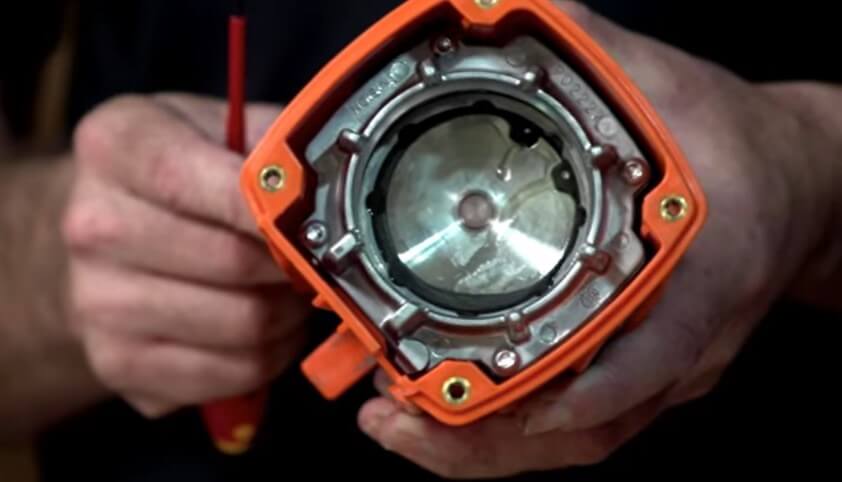
How To Clean The Cylinder
Cleaning the cylinder is another important task that should not be overlooked. Dirt and debris can build up in the cylinder, which can affect the nail gun’s performance.
Follow these steps to clean the cylinder:
- Remove the cylinder from the nail gun.
- Clean it properly with a soft cloth.
- Use a cylinder cleaning brush to remove any dirt and debris from the cylinder.
- Apply a small amount of oil to the cylinder and install it back into the nail gun.
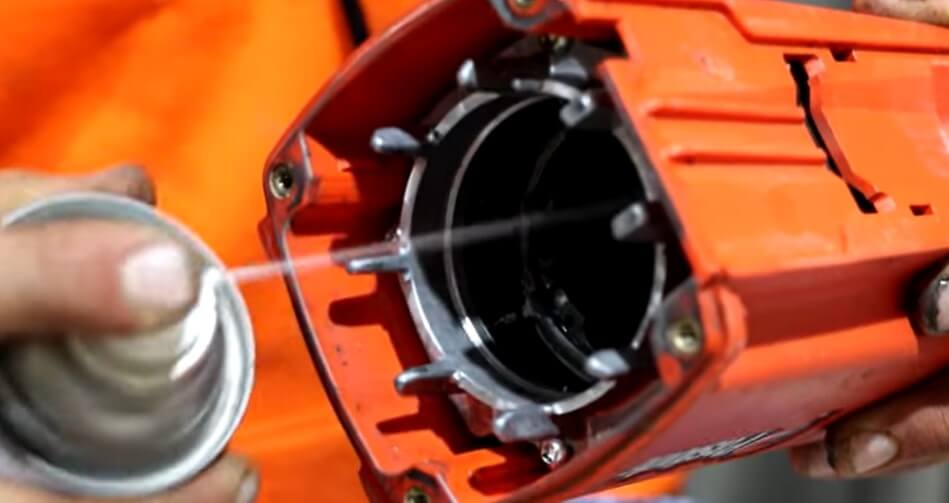
How To Clean The Combustion Chamber
The combustion chamber is where the fuel and the air mix to fire the nail gun. It is essential to keep the combustion chamber clean to maintain the nail gun’s performance.
Find here the ways of cleaning the combustion chamber:
- Remove the combustion chamber from the nail gun.
- Clean it properly with a soft cloth or compressed air.
- Use a combustion chamber cleaning brush to remove any dirt and debris from the chamber.
- Reinstall the combustion chamber into the nail gun after cleaning.
Cleaning The Fan Assembly
The fan assembly is an essential part of a Paslode nail gun that provides cooling to the tool.
Here are some tips for cleaning the fan assembly:
- Remove the fan assembly from the nail gun.
- Use a compressed air blower to blow out any dirt and debris from the fan assembly.
- Clean the fan blades with a soft cloth.
- Reinstall the fan assembly back into the nail gun after cleaning.
Cleaning The Fuel Injection System
The fuel injection system is another vital part of a Paslode nail gun that should be cleaned regularly. Follow these steps to clean the fuel injection system:
- Remove the fuel injection system from the nail gun.
- Use a soft cloth to clean the fuel injection system.
- Use a fuel injection cleaning brush to remove any dirt and debris from the system.
- Reinstall the fuel injection system back into the nail gun after cleaning.
Cleaning The Filters
Paslode nail guns contain different types of filters, such as air intake filters and spark arrestor filters. It is essential to keep these filters clean to maintain the nail gun’s performance.
Here are some tips for cleaning the filters:
- Remove the filters from the nail gun.
- Use a compressed air blower to clean the filters or wash them with soap and water.
- Let the filters dry completely before reinstalling them back into the nail gun.
Tips For Cleaning Other Parts
Apart from the essential parts mentioned earlier, some other parts of a Paslode nail gun require cleaning. Here are some tips for cleaning those parts:
- Use a soft cloth to clean the exterior of the nail gun.
- Clean the nosepiece thoroughly to remove any debris.
- Use a cleaning brush to clean the trigger and safety mechanism.
- Use a small amount of oil on the parts after cleaning to lubricate them.
Cleaning a Paslode nail gun is not a difficult task, but it requires patience and attention to detail. Follow the steps we’ve outlined to keep your nail gun in top condition, and it will consistently perform to your desired results.
Reassemble The Paslode Nail Gum
After cleaning your Paslode nail gun, the next step is to reassemble it. Here are the steps you should follow:
- Replace the filter: Install a new fuel filter by pushing it into the fuel cell base until you hear an audible click.
- Install the fuel cell: Add a new fuel cell to your Paslode nail gun. First, slide the cell stems into the retainer, and then gently push the fuel cell to the end of the retainer.
- Reattach the nosepiece: Attach the gun’s nosepiece to its head assembly, making sure to align the pins. Twist the nose until it clicks into place.
- Reinstall the driver blade: Carefully slide the driver blade into the cylinder through the head assembly, and then attach the cylinder cover.
- Install the magazine assembly: Re-attach the magazine assembly and make sure it is aligned properly.
- Reinstall the actuator assembly: Install the actuator assembly, including the guide bushing and follower. Ensure that the guide bushing is locked in place.
Pro Tips:
- Apply lubricant to the driver blade, chamber, and nosepiece before reassembling the tool. This will help prevent wear and tear on the gun.
- Before reassembling the nail gun, check for any damage to the gun’s components or any signs of wear and tear.
- Always follow all safety guidelines when reassembling your Paslode nail gun, including using proper tools, wearing appropriate safety gear, and following all instructions carefully.
- Test the nail gun after reassembly to ensure that it is functioning properly.
Testing The Reunited Paslode
Cleaning and maintaining your Paslode nail gun is essential to keeping it working to its full potential. Once you’ve dismantled your nail gun, cleaned each part, and reassembled it, you need to test your gun to ensure it’s working correctly.
Stay tight; here, we’ll discuss how to test your nail gun and tips for testing it.
How Do You Test a Paslode Nail Gun After Cleaning?
- Ensure your nail gun has been reassembled correctly to prevent any potential issues.
- Load the nail gun with a fresh fuel cell and nail strip, following the manufacturer’s instructions.
- Turn the depth adjustment screw to the minimum setting.
- Fire the gun into a piece of scrap timber to test the depth and strength of the shot.
- Adjust the depth adjustment screw and continue testing until you’re happy with the results.
Pro Tips For Testing
- Test the depth and strength of the nail shot to ensure it’s firing correctly.
- Test your nail gun in various positions, such as vertically and horizontally, to ensure it’s working correctly.
- Check that the safety mechanisms are working, such as the trigger and the work-contact element, to ensure they’re functioning correctly and engaging every time the gun is fired.
- If any issues arise or you’re unsure about your nail gun’s performance, consult your manufacturer’s guidelines or contact a professional for advice.
Testing your nail gun after cleaning is essential to ensuring it’s working at its optimum level. By following these steps and tips, you can maintain your nail gun’s longevity and avoid any potential safety hazards.
How Can I Clean My Paslode Nail Gun Cordless?
Cleaning a Paslode cordless nail gun involves the following steps:
- Disconnect the power source and remove the battery.
- Take out the nails and fuel cell.
- Clean the nose and follower with a brush or compressed air.
- Wipe down the exterior with a clean cloth.
- Reassemble the nail gun.
Paslode Cleaning Kit
Paslode offers a cleaning kit designed for their cordless nail guns. The kit typically includes cleaning solution, lubricating oil, a brush, and instructions. It helps remove debris, prevent jams, and maintain optimal performance. Follow the provided instructions for effective cleaning and maintenance.
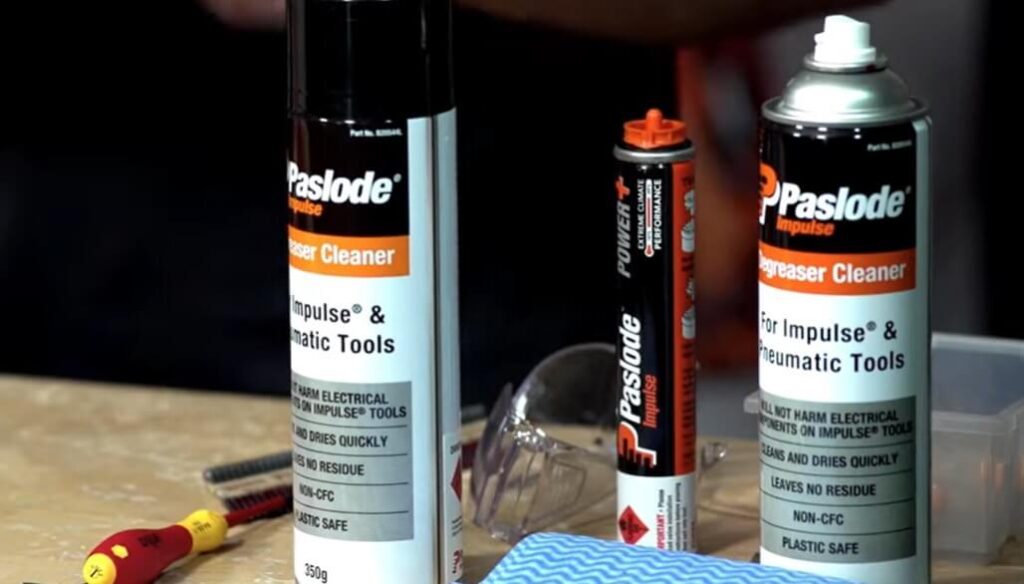
Paslode Cleaning Spray
Paslode cleaning spray is a specially formulated solution designed for cleaning and maintaining Paslode cordless nail guns. It helps remove debris, lubricates moving parts, and ensures smooth operation.
The spray is applied to the nail gun components to prevent jamming and extend the tool’s life. Follow the manufacturer’s instructions for proper usage.
How To Clean Paslode 16 Gauge Finish Nailer?
To clean a Paslode 16-gauge finish nailer, follow these brief steps:
Disconnect Power: Ensure the nailer is disconnected from the power source, and remove the battery.
Clear Nails: Empty the magazine of any remaining nails.
Remove Fuel Cell: If applicable, take out the fuel cell.
Clean Nose and Magazine: Use a brush or compressed air to remove dust and debris from the nose and magazine area.
Apply Paslode Cleaning Spray: If available, use Paslode cleaning spray to clean and lubricate the internal components. Follow the product instructions.
Wipe Exterior: Wipe down the exterior of the nailer with a clean cloth.
Inspect and Reassemble: Inspect all components for damage or wear. Reassemble the nailer according to the manufacturer’s guidelines.
Apply Lubricating Oil: If included in the cleaning kit, apply lubricating oil to the recommended areas for smoother operation.
Perform a Test: Insert a few nails and test the nailer to ensure proper functionality.
Always refer to the Paslode user manual for specific cleaning instructions and recommendations. Regular maintenance will help keep your Paslode 16-gauge finish nailer in good working condition.
How To Service Paslode Nail Gun?
To service a Paslode nail gun, start by disconnecting it from the power source and clearing the magazine of any nails.
Clean the nose, magazine, and other parts using a brush or compressed air, and apply Paslode cleaning spray or lubricating oil as recommended.
Inspect for worn or damaged components and replace them as needed. Check fuel cells for expiration, if applicable.
Adjust settings according to the user manual, reassemble the nail gun, and test its operation with a few nails.
Regular servicing and proper maintenance will ensure the Paslode nail gun operates efficiently and prolong its lifespan. Always follow the manufacturer’s guidelines for your specific model.
Maintenance Tips
Recommended Maintenance Schedule
A Paslode nail gun is a durable and powerful tool that can withstand difficult tasks if it is correctly maintained. However, to ensure the device’s longevity, it is crucial to follow a maintenance schedule.
Here is the recommended maintenance schedule for your Paslode nail gun:
- Clean the exterior of the tool after every use.
- After 10,000 shots, lubricate the tool with Paslode oil.
- Replace the filter and O-rings after 50,000 shots or once a year, whichever comes first.
- Clean or replace the spark plug after 50,000 shots or once a year, whichever comes first.
Tips For Maintaining A Paslode Nail Gun
Paslode nail guns require regular maintenance and care to maintain their effectiveness and durability. Here are some tips for maintaining a Paslode nail gun:
- Always wear safety goggles and a respirator when cleaning the tool.
- Keep the tool clean and lubricated.
- Store the nail gun in a clean and dry place, away from moisture and dust.
- Use only Paslode-approved cleaning products and lubricants.
- Do not disassemble or modify the tool, as it may damage the tool.
Benefits Of Regular Maintenance
Regular maintenance of a Paslode nail gun has several benefits, such as:
- Ensuring the tool’s optimal performance, preventing the need for costly repairs or replacement.
- Extending the tool’s life means saving money in the long term.
- Reducing the tool’s downtime due to malfunction or damage.
- Preventing safety hazards that may occur due to tool malfunctions.
Maintaining a Paslode nail gun is crucial to ensuring its functionality, longevity, and safety.
By following a regular maintenance schedule and adhering to these tips, you can keep your Paslode nail gun in good working condition for years to come.
FAQs: How To Clean A Paslode Nail Gun?
How Often Should A Paslode Nail Gun Be Cleaned?
Paslode nail guns should be cleaned after every use. Thoroughly clean a Paslode nail gun after every 50,000 shots, or at least annually, for optimal performance.
What Is The Best Way To Clean A Paslode Nail Gun?
The best way to clean a Paslode nail gun is by disconnecting power, clearing nails, using Paslode cleaning spray or lubricating oil, inspecting for wear, and following manufacturer guidelines for regular maintenance.
Is It Safe To Use Water To Clean A Paslode Nail Gun?
No, it’s not safe to use water to clean a Paslode nail gun. Water can cause rust.
Why Is It Important To Clean A Paslode Nail Gun?
Cleaning a Paslode nail gun prolongs its life, prevents malfunctions, and ensures safe operation.
What Parts Of The Paslode Nail Gun Should Be Cleaned?
The combustion chamber, fan blade, and filter should be cleaned regularly.
How Can I Ensure My Paslode Nail Gun Lasts As Long As Possible?
Regular cleaning, proper lubrication, and correct storage can prolong the life of your Paslode nail gun.
Can I Clean My Paslode Nail Gun Using A Vacuum Cleaner?
Using a vacuum cleaner to clean a Paslode nail gun is not recommended. Use compressed air instead.
What Is The Best Lubricant To Use On A Paslode Nail Gun?
Use Paslode lubricating oil only. Apply it to the tip, driver blade, and o-rings.
Conclusion
A Paslode nail gun is a handy tool to have, but proper maintenance and cleaning are essential to keep it functioning well. Following our step-by-step guide, you can now take care of your Paslode nail gun to ensure it shoots like a dream.
Remember to disconnect the tool and release any pressure before disassembling. Clean all parts thoroughly, and lubricate them before reassembly. Inspect the magazine components, fuel cells, and battery regularly. Don’t forget to wear appropriate safety gear, such as gloves and eye protection, when cleaning your nail gun.
With just a little effort, you can extend the lifespan of your Paslode nail gun and improve its performance. Keep in mind that regular cleaning and maintenance are key to using the tool safely and efficiently.
Recent Posts
Woodworking is one of the most rewarding hobbies and professions, but it also comes with serious risks if proper precautions are not taken. Whether you're working with a table saw, planer, or simple...
What to Use If You Don't Have a Brad Nailer: Handy Alternatives
You can use a hammer and finishing nails paring with nail set or wood glue if you don't have a Brad Nailer. These tools effectively secure trim and small woodworking projects. So, if you’re in...