
Looking to upgrade your home’s exterior with Hardie siding? While nail guns can make the process faster, installing Hardie siding without one is entirely possible.
In fact, this guide will show you how to achieve a professional installation without the need for a nail gun. So, if you’re wondering whether you can install Hardie siding without a nail gun, the answer is yes!
Join us as we walk you through the steps, from measuring and cutting to securing panels, all while embracing a DIY approach that saves you money and delivers impressive results.
Nail Gun Vs Hammer For Installing Hardie Board Siding
When it comes to installing Hardie Board siding, the choice between using a nail gun or a hammer depends on several factors. Let’s explore the pros and cons of each method to help you decide which option is better suited for your installation project.
Pros and Cons of Nail Gun:
Advantages:
- Efficiency: Nail guns are significantly faster than using a hammer. They can drive nails into the Hardie board quickly, reducing installation time.
- Consistency: Nail guns provide consistent nail depth and placement, ensuring a uniform and professional appearance.
- Reduced Fatigue: Using a nail gun can be less physically demanding than hammering, especially during larger projects.
- Precision: Nail guns are designed to minimize the risk of overdriving or underdriving nails, which helps prevent damage to the siding.
Drawbacks:
- Cost: Nail guns can be expensive to purchase or rent, making them a larger upfront investment.
- Learning Curve: Operating a nail gun requires some practice and familiarity to ensure accurate nailing and prevent mistakes.
Pros and Cons of Hammer:
Advantages:
- Affordability: A hammer is a more budget-friendly option, as it’s a tool most people already have or can easily acquire.
- Control: Using a hammer allows for precise control over nail placement and pressure, which can be advantageous for intricate or custom installations.
- Availability: Hammers are readily available and do not require any special equipment or power source.
- Simplicity: There’s no learning curve involved with using a hammer, making it accessible to beginners.
Drawbacks:
- Slower Installation: Using a hammer is generally slower compared to a nail gun, potentially extending the project timeline.
- Physical Fatigue: Hammering can be physically tiring, especially during extended installation sessions.
- Inconsistent Results: Achieving consistent nail depth and placement might be more challenging with a hammer, leading to a less polished finish.

Summary: Nail Gun Vs Hammer For Hardie Siding
Ultimately, the choice between a nail gun and a hammer for installing Hardie board siding depends on your priorities. If speed, efficiency, and consistent results are paramount, a nail gun might be the better option, despite the initial investment.
On the other hand, if you’re looking for a more affordable and hands-on approach, a hammer can still deliver satisfactory results, albeit with a bit more effort and potentially slower progress.
Consider your project’s scale, your familiarity with the tools, and your budget when making the decision between these two installation methods.
Tools and Materials Required For Installing Hardie Siding
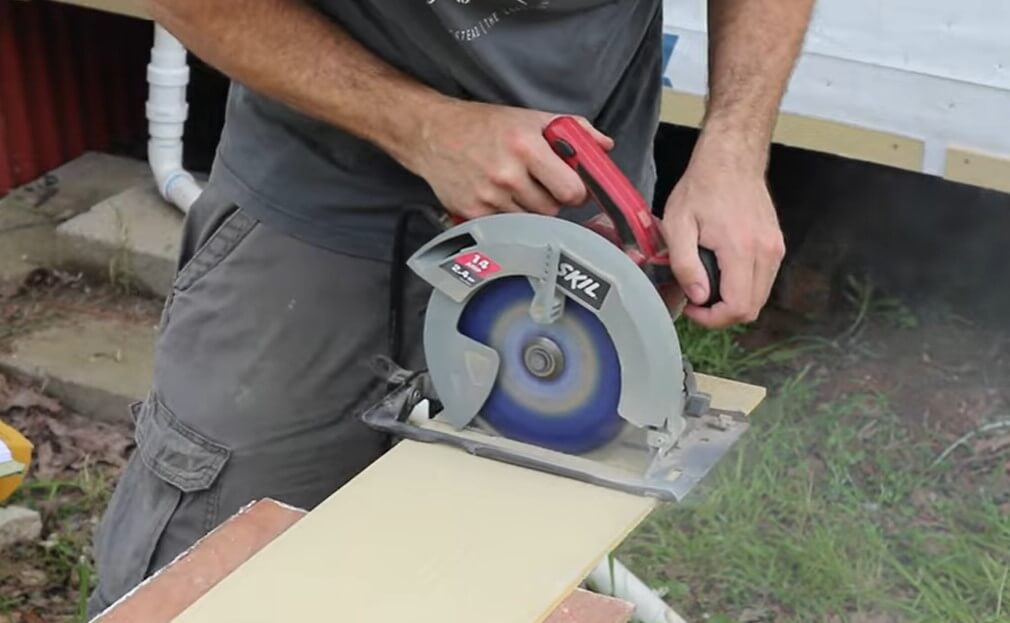
When it comes to installing Hardie siding, there are several tools and materials that are required to ensure a successful and efficient installation. The first and most important tool would be a circular saw, as it is needed to cut the Hardie board to the necessary length.
Other essential tools include:
- Hardie siding panels
- Measuring tape
- Level
- Utility knife
- Circular saw or fiber cement shears
- Galvanized nails
- Hammer
- Caulk and caulk gun
- Primer and paint
- Safety gear (gloves, safety glasses, dust mask)
It is important to ensure that you have all the necessary tools and materials before beginning the installation process to ensure a smooth and efficient installation.

Step-by-Step Guide: How To Install Hardie Siding Without A Nail Gun?
Installing Hardie siding without a nail gun may appear difficult, but with the correct equipment and skills, it is simple. You will also need a lot of care and attention to detail, as well as some handwork. Follow the steps below to easily and quickly install your Hardie siding without a nail gun.
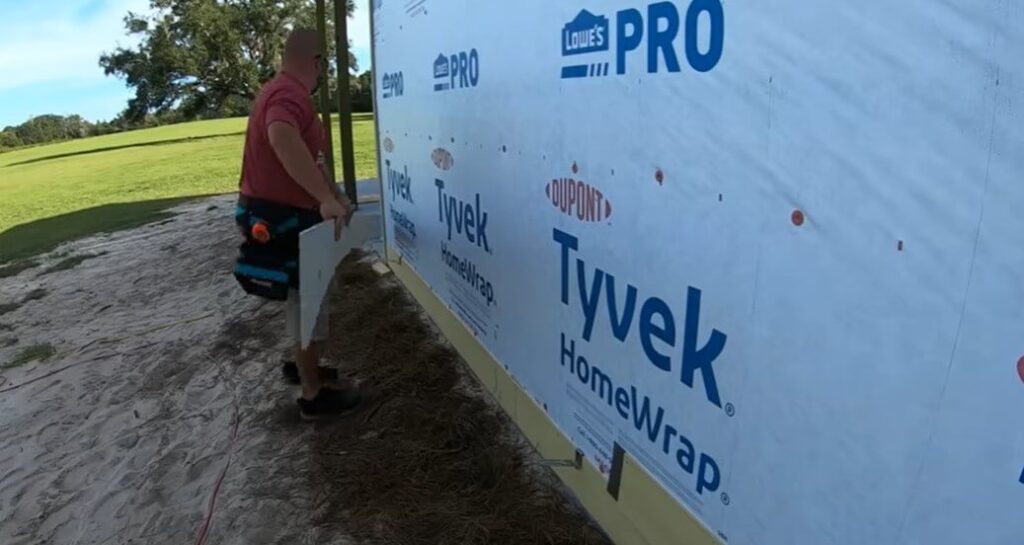
1. Preparing the Area:
- Ensure the wall surface is clean, dry, and properly prepared.
- Remove any existing siding or trim as necessary.
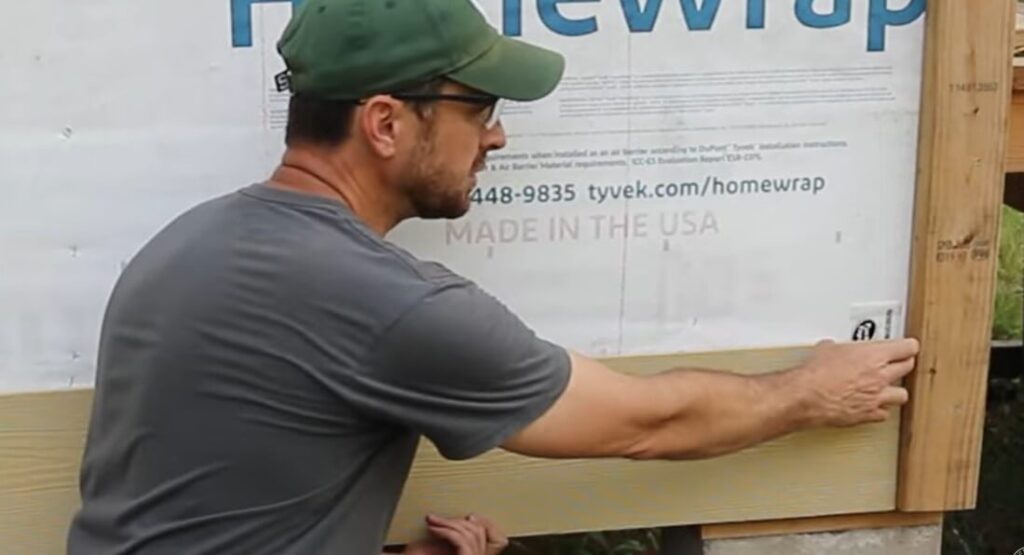
- Install a moisture barrier or house wrap if required.
2. Measuring and Cutting:
- Measure the dimensions of the wall and the siding panels accurately.
- Mark the measurements on the siding panels using a pencil or chalk line.
- Use a circular saw or fiber cement shears to cut the panels to size.
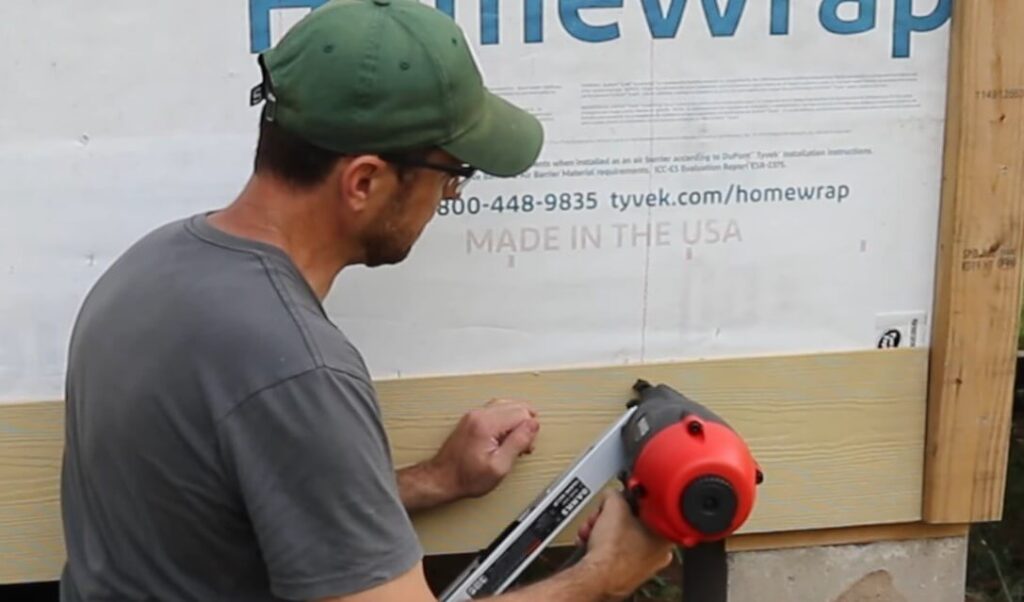
3. Installing the First Row:
- Start from the bottom of the wall and work your way up.
- Align the first panel with the corner of the wall and make sure it’s level.
- Attach the panel by using galvanized nails, placing them about 1 inch from the edges and every 16-24 inches vertically.
4. Adding Subsequent Rows:
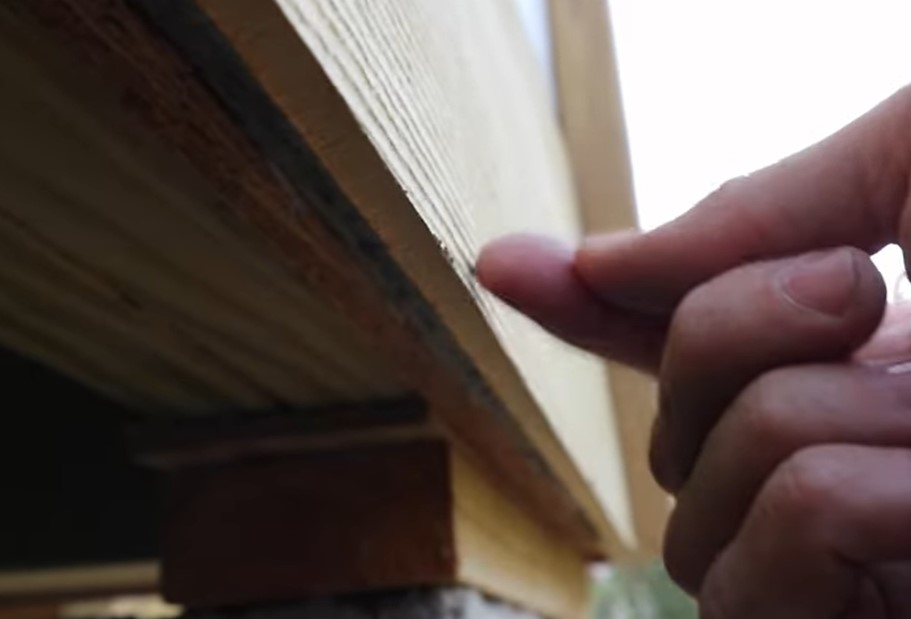
- Overlap the bottom of the next panel with the top of the previous one.
- Secure the panels with nails in the same manner as the first row.
- Use a level or siding overlap gauge frequently to ensure the panels are straight and aligned.
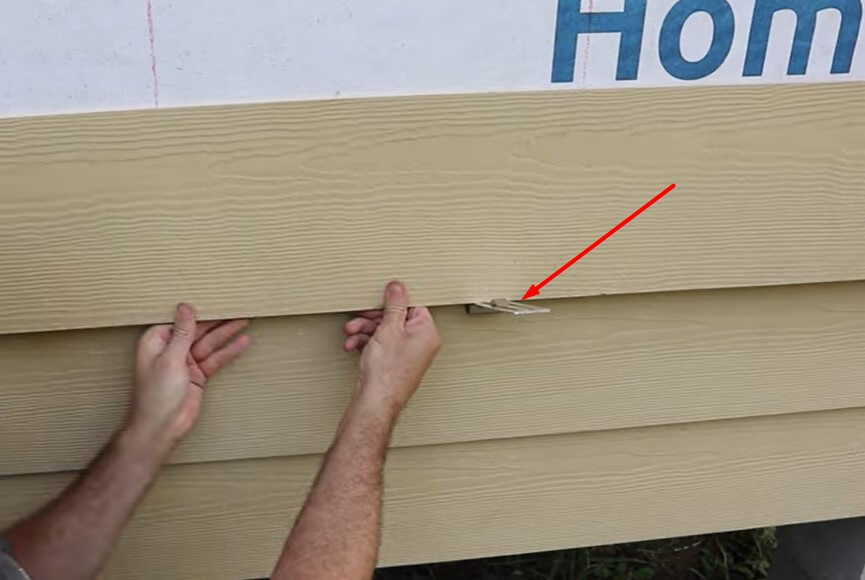
Note: We use the Malco FCG2 Fiber Cement Siding Overlap Gauge tool to keep each additional siding leveled. It is a USA-made tool that can help you install siding without the help of an extra person. It is not too costly, you can buy a set of two for $39 or less from Amazon.
5. Handling Corners and Trim:
- For outside corners, cut the panels at a 45-degree angle and overlap them.
- Install corner trim pieces to provide a clean finish.
- Use a utility knife to trim panels around windows, doors, and other openings.
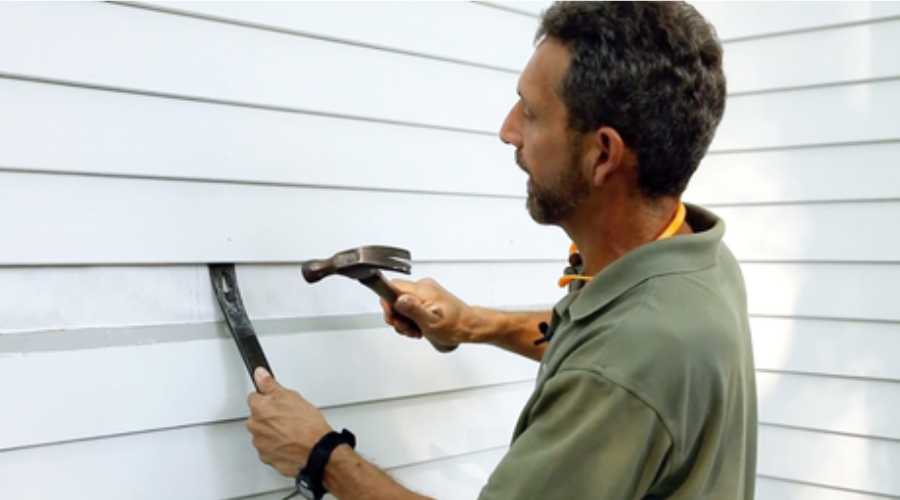
6. Nailing Tips:
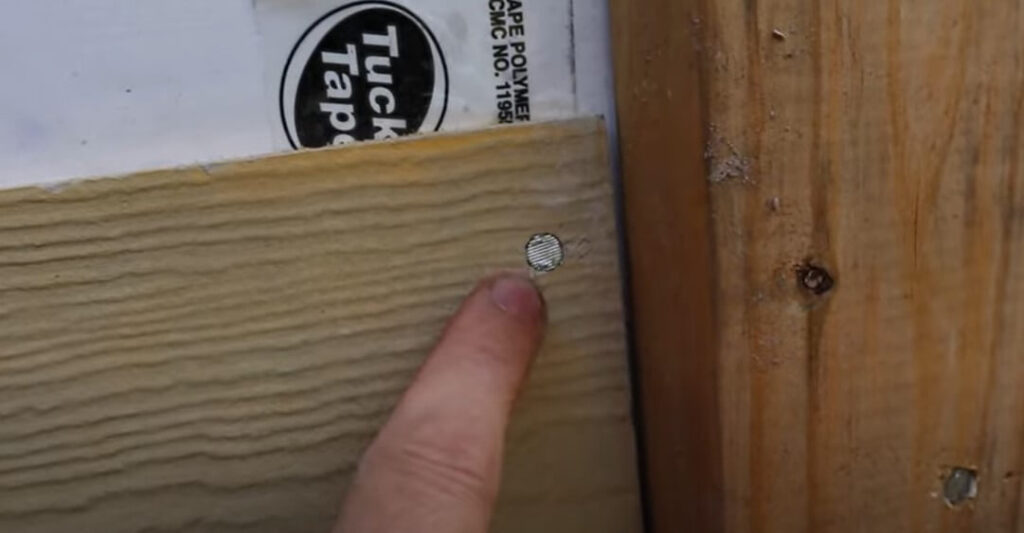
- Hammer in nails carefully to avoid damaging the siding.
- Place corner nails to keep an inch gap from the top and 3/4 inch clearance from the side.
- Sink the nails slightly below the surface to create a smooth appearance.
- Fill nail holes with caulk and smooth it out for a seamless finish.
7. Finishing Touches:
- Apply primer and paint to protect the siding and enhance its appearance.
- Ensure all joints and seams are properly caulked to prevent moisture infiltration.
8. Clean-Up:
- Dispose of any waste material properly.
- Clean your tools and workspace for future use.
Safety Tips For Installing Hardie Siding Without A Nail Gun
To reduce the potential for injury or damage to the materials being used, it is crucial to follow the essential safety procedures when installing Hardie siding without a nail gun.
As you use a hammer to drive nails through Hardie siding, remember to take the following safety precautions.
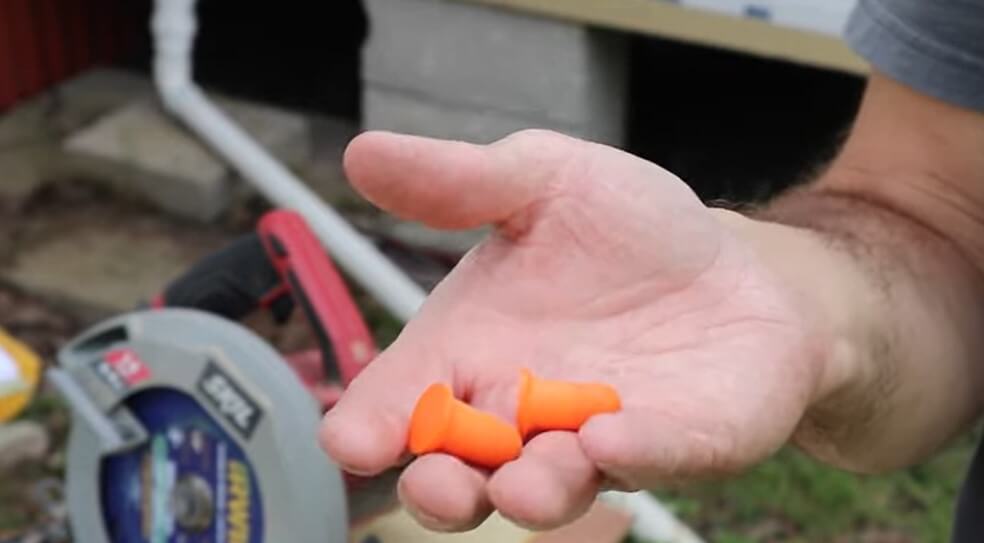
- Use gloves, safety glasses, a dust mask, and other necessary protective gear at all times.
- Use a hammer with a nail set to drive nails flush with the surface of the siding.
- Be sure to use the correct size and type of nail recommended by the manufacturer.
- When using a ladder or scaffolding, ensure that they are secure and stable before climbing on them.
- Lastly, always follow the manufacturer’s installation instructions carefully to ensure a safe and successful installation.
How To Install Hardie Siding With A Nail Gun?
Using a nail gun or siding nailer will give you some advantages that we discussed earlier in this article. When using a nail gun to install Hardie siding, you will get a professional finish and quickness. As a result, knowing how to install Hardie Board siding using a nail gun is equally essential.
Let’s find the steps for installing Hardie siding with a nail gun below:
Preparation: Clean and prepare the wall surface, ensuring it’s dry and ready for installation.
Moisture Barrier: Install a moisture barrier or house wrap to protect against water infiltration.
Starting Row: Begin at the bottom and attach the first panel using the nail gun, securing it to the wall framing.
Subsequent Rows: Overlap the panels, nailing them to the framing every 16–24 inches vertically.
Corners and Trim: Cut panels at a 45-degree angle for outside corners, and add corner trim for a neat appearance.
Nail Placement: Drive nails with a siding nailer into the panel’s nailing flange, ensuring consistent depth and spacing.
Window and Door Openings: Trim panels accurately around openings using a circular saw or shears.
Finishing Touches: Fill nail holes with caulk, and apply primer and paint for protection and aesthetics.
By following these steps and utilizing a nail gun, you can efficiently and effectively install Hardie siding with a high-quality outcome.
How To Install Hardie Board Siding 4×8?
Hardie Board Siding 4×8 is a durable and popular siding option for homeowners and professionals alike. Made from a mixture of cement, sand, and cellulose fibers, this siding material offers superior strength and resistance to fire, moisture, and pests.
Its 4×8 size is perfect for larger projects, and its natural woodgrain texture gives it a classic appearance that complements any style of home.
With proper installation and maintenance, Hardie Board Siding 4×8 can last for decades.
Follow the procedures below to install Hardie Board Siding 4×8 properly:
- Gather all necessary tools and materials, including Hardie Board Siding 4×8, fasteners, saw blades, measuring tape, and safety equipment.
- Prepare the work area by removing any existing siding or debris and installing a moisture barrier.
- Measure and mark the wall for the placement of the Hardie Board Siding 4×8.
- Cut the Hardie Board Siding 4×8 to size using a saw blade designed for cutting fiber cement.
- Fasten the Hardie Board Siding 4×8 to the wall using the recommended fasteners and spacing guidelines. Generally, it is better to leave at least a 1/8-inch gap between the panels to allow for expansion.
- Repeat the process 3 to 5 for each subsequent piece of Hardie Board Siding
- Caulk all joints and edges to prevent water infiltration.
- Prime and paint the siding with high-quality exterior paint.
- Lastly, clean up the area and dispose of any waste materials.
By following these steps, you can ensure a professional and long-lasting installation of your Hardie Board siding.
How To Install Hardie Board Panel?
Installing Hardie board panel is a great way to enhance the durability and appeal of your home’s exterior. The process requires a few steps and specialized tools.
Begin by measuring the area where the panels will be installed.
Cut the Hardie board panels to fit the measurements.
Next, attach the panels to the exterior using screws and a drill. Ensure the panels are level and properly aligned.
Use a caulking gun to seal any gaps between the panels.
Finally, apply primer and paint to complete the installation.
It’s important to follow safety protocols when handling the panels and tools. Seek the assistance of a professional if you’re unsure about any step in the process.
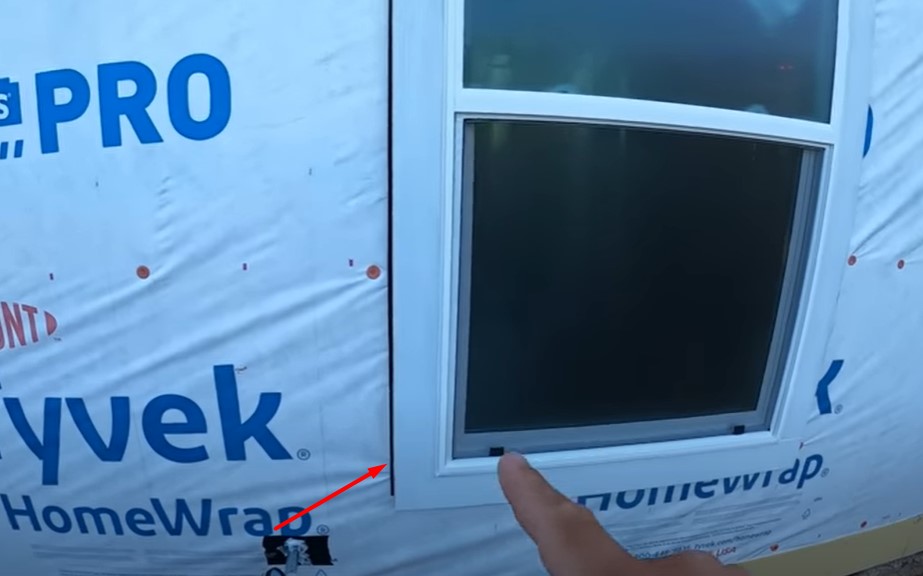
How To Install Hardie Siding Around Windows?
Steps to Install Hardie Siding Around Windows:
- Measure and Mark: Measure the dimensions of the window and transfer the measurements onto the siding panels.
- Cut Panels: Using a circular saw or fiber cement shears, carefully cut the panels to fit around the window.
- Install Trim: Attach window trim pieces around the window frame to create a clean border.
- Attach Bottom Panel: Install the bottom panel, leaving a small gap above the trim for expansion.
- Overlap Siding: Place the remaining panels, overlapping the bottom panel and the window trim.
- Nail Placement: Use a nail gun or hammer to secure the panels to the wall, following proper nailing guidelines.
- Seal and Caulk: Apply caulk to any gaps between the siding and the window trim to prevent water infiltration.
- Finishing Touches: Prime, paint, and touch up the siding and trim to complete the installation.
Installing Hardie siding around windows requires accurate measurements, precise cuts, and attention to detail to achieve a professional-looking result that enhances your home’s appearance and protection.
Which Is The Best Nail Gun For Installing Hardie Siding?
If you decide to use a nail gun to install Hardie siding, the next imperative step is to choose a suitable nail gun that can handle the specific requirements of this type of siding material.
Hardie siding is made of fiber cement and is denser and harder than traditional wood siding, so you’ll need a nail gun that provides sufficient power and durability.
The best nail gun for installing Hardie siding is a siding nailer or a framing nailer with the following features:
1. Pneumatic Power: Pneumatic nail guns are highly recommended for installing Hardie siding. They use compressed air to drive nails, providing consistent and reliable power to penetrate the dense material effectively.
2. Adjustable Depth: Choose a nail gun with adjustable depth settings. This allows you to control how deep the nails are driven into the siding, preventing over-penetration and potential damage to the siding.
3. Full Round Head Nails: Opt for a nail gun that uses full round head nails. These nails have a larger head that provides better-holding power, reducing the risk of nails popping out over time due to the weight of the siding.
4. Magnesium Housing: Look for a nail gun with a durable magnesium housing. This material is lightweight yet robust, making the nail gun easier to handle during prolonged use.
5. Exhaust Direction Control: An adjustable exhaust port is helpful to direct air away from your face and the work area, ensuring a safer and more comfortable working environment.
6. Anti-Dry Fire Mechanism: Some nail guns have anti-dry fire mechanisms that prevent the tool from firing when only a few nails are left in the magazine. This feature can prolong the life of the nail gun and prevent damage.
7. Compatible Nail Sizes: Ensure that the nail gun can accommodate the nail lengths recommended by James Hardie for their siding installation. The manufacturer’s guidelines are crucial to maintaining the siding’s warranty and performance.
8. Brand Reputation: Choose a reputable brand known for producing reliable and durable nail guns. Brands like Bostitch, Hitachi, DeWalt, and Senco are often recommended for professional woodworking and siding work.
Based on the above criteria, we found the Bostitch Coil Siding Nailer N66C-1 is the best match. You can handle a wide range of siding work with this durable and lightweight siding nailer.

However, before purchasing a nail gun, it’s advisable to read user reviews and check for any specific recommendations from the manufacturer of the Hardie siding you’re using.
Remember to prioritize safety by wearing appropriate personal protective equipment (PPE) and following proper installation guidelines to achieve the best results.
Installing Hardie Board Siding Without Air Guns [Video]
FAQs: How To Install Hardie Siding Without A Nail Gun?
Can I install Hardie siding without a nail gun?
Yes, you can definitely install Hardie siding without a nail gun. While a nail gun can be convenient, using traditional tools like a hammer and nails is a viable alternative.
What tools do I need to install Hardie siding without a nail gun?
You’ll need basic tools like a measuring tape, level, utility knife, circular saw or fiber cement shears, galvanized nails, a hammer, a caulk gun, safety gear, primer, and paint.
Is it harder to install Hardie siding without a nail gun?
While it may take a bit more time and effort compared to using a nail gun, installing Hardie siding without one is achievable with proper planning and attention to detail.
How do I ensure the panels are level and aligned during installation?
Frequent use of a level and careful measurement are key. Take your time to measure accurately, mark panel placements, and use a level to ensure a straight and aligned installation.
Can I achieve a professional finish without a nail gun?
Absolutely. While it might require more precision and effort, following proper techniques and taking your time can result in a polished and professional-looking finish for your Hardie siding installation.
Conclusion
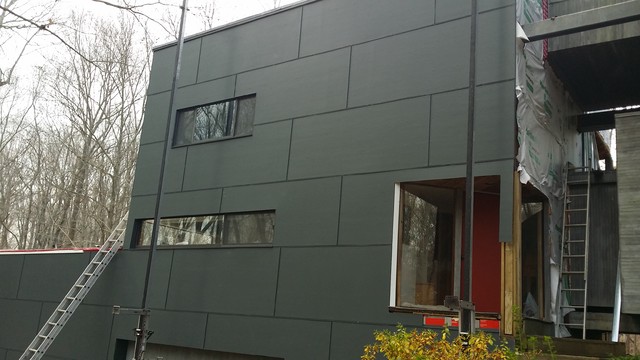
To wrap up, this guide has shown that installing Hardie siding without a nail gun is not only possible but also a rewarding endeavor. Armed with basic tools and a patient approach, you can achieve a professional-grade installation that enhances your home’s curb appeal and protection.
From measuring and cutting with precision to securing panels diligently, each step contributes to a satisfying and visually appealing result. Whether you’re aiming to save costs, embrace a hands-on DIY project, or simply explore an alternative installation method, this guide equips you with the knowledge needed to successfully install Hardie siding without a nail gun.
Remember, while a nail gun might offer convenience, the manual approach described here offers a personal touch and a sense of accomplishment that’s hard to replicate. With these insights at your disposal, you’re poised to confidently embark on your journey to transform your home’s exterior with Hardie siding.
Related Posts:
- Can You Use A Finish Nailer On Hardie Siding?
- How To Install Chair Rail Without A Nail Gun?
- How To Install Baseboards Without Nail Gun?
- How Do You Prevent Nail Gun Marks On Hardie Siding?
- What Type Of Nail Gun For Hardwood Flooring?
Recent Posts
Woodworking is one of the most rewarding hobbies and professions, but it also comes with serious risks if proper precautions are not taken. Whether you're working with a table saw, planer, or simple...
What to Use If You Don't Have a Brad Nailer: Handy Alternatives
You can use a hammer and finishing nails paring with nail set or wood glue if you don't have a Brad Nailer. These tools effectively secure trim and small woodworking projects. So, if you’re in...