
From hanging a picture or blinds to fastening screws to installing the cupboard, you just list it, where you didn’t find the drill’s efficacy. The flexibility of using a drill driver actually makes it one of the most useful household equipment for any DIY or professional.
Based on power source there are two types of drill drivers found on the market – corded and cordless drills. Among these two, the cordless one gives you extra freedom of work and is very much suitable for any homeowner or DIYer.
So, ladies and gentlemen! Foremost, if you have yet not bought any drill drivers, then stop and read our analysis on the best cordless drills on the market with buying tips to pick your one. This really is so important!
After purchasing a drill, the next imperative task is to know how to use a cordless drill correctly and its details. Proper adaptation will give you that tool’s maximum output. Let’s scroll down to glimpse the necessary steps.
What Is A Cordless Drill?
A cordless drill, as you may have guessed, is a tool that runs on battery power rather than a power cord. Whereas a drill, regardless of whether corded or cordless, is usually used to make holes in materials or to drive fasteners.
A drill or drilling machine is a tool primarily used for making round holes or driving fasteners.
Wikipedia
To use a drill machine to fasten or remove a screw, you must first insert a Philips driver into the machine chucks, also known as the ‘driver bit.’ To drill a hole, you’ll need to attach a ‘drill bit’ to the device, which will be held in place by the chuck.
What Can You Do With A Cordless Drill?
Humm… we have already mentioned that the drill driver is the most useful tool for home improvement and other professional work. So, you can do just about anything and everything with it! You’ll find a wide range of usability, starting from the hanging of a picture to the furniture assembly. They even come in handy to fasten pieces together with screws or to make holes for hooks.
Woodworking, metalworking, engineering, machine tool assembly, construction, and utility projects everywhere we see the uses of drills.
It is also a very convenient tool to do drilling and driving to sanding and rubbing different materials. This device could also be used for special purposes, such as dentistry or orthopedic surgery, making a magic wand, or spinning some yarn. All you need is to set the proper bit according to your project.
Know Your Drill
The drill is the most common and easy-to-use power tool. But, if you don’t know the subtle changes, you can’t get the most out of it.
We’re here to talk about the cordless drill’s core parts and their reconfiguration procedures for those who are DIYers or the greenest apprentices. However, our review will not include a solution to the problems. Sorry for that!

Battery
A rechargeable battery provides power and necessary convenience to the cordless drill. Therefore, you must check whether or not it comes with a charger during purchase. There is a different battery voltages available on the market. However, the most common volt is 18 to 20-volt batteries. A 20-volt battery can provide you with enough power to make up most of what Pros do.
There are three types of batteries on the market: nickel-cadmium (NiCd), nickel-metal hydride (NiMH), and Lithium-ion (Li-Ion). Among those, Li-Ion is the latest technology and the perfect match in any contest (High power, longer runtime, no battery memory effect, etc.).
You can get a comparison between NiMH and Li-ion here.
Clutch
The proper maneuver, i.e., drilling or screwing, depends on the correct setting of the twisting force or torque of the drill. The part that controls the drill’s torque is known as the clutch. There is both an automatic and a manual clutch system, though.
With an automatic clutch, you don’t need to set the necessary torque to drill or drive with it manually, as its auto-sense technology makes a trial and error on your behalf and is great for beginners. If you want to escape the hassle of manual torque adjustment, then you may check out this 20V MAX lithium-ion drill/driver with auto-sense technology.
However, most of the drill drivers on the market come with a numbered dial system. You have to select a lower number for the small torque and so on. Usually, to drive large screws into hardwood or solid materials, you have to set a higher number to get maximum torque.
Conversely, for softer wood or driving small screws, it’s better to start with a lower number.
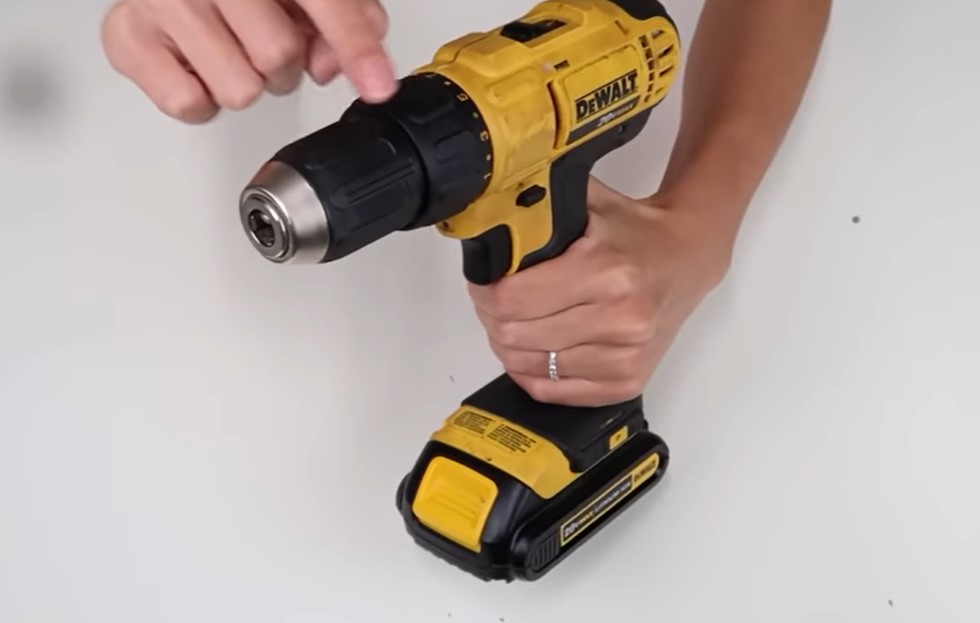
Chuck
The chuck is part of the drill machine that holds the bit firmly in place. Typically, a chuck consists three-point clamp to hold the bits. Depending on the model, it might be keyless or come with a small key to tighten the clamps. The keyless chuck is more convenient as you can stretch it without the help of any extra tools.
Again there are two types of chuck: single-sleeve and double-sleeve, where single-sleeve configuration offers smooth one-handed operation.
Always double-check the settings after inserting the bit into the chuck for additional safety. To do that, try to move the bit clockwise and counterclockwise to check whether it is set correctly or not.
Rotation Direction Button
When handling a project, large or small DIY, you may need both the forward (clockwise) and the reverse (counterclockwise) mode. Every cordless drill, however, comes with a button located just right over the trigger to control the rotation of the bit.
Forward speed helps you push the screws and dig the hole, while after drilling, the reverse spin lets you get out of the hole smoothly. The counterclockwise or backward motion also helps to remove screws and other fasteners quickly.
Trigger
Most cordless drills come with a built-in spin controller trigger which helps you increase or decrease the speed according to your needs. By pressing the trigger firmly, you can get high-speed rotation, and to slow down the speed, you just need to release the trigger gently. If you put off your finger on the trigger, it will stop automatically.
Again, based on the complexity of the work, it can be a single-speed or multi-speed trigger. The single-speed trigger is ideal for basic work where you need a high torque for driving screws or for drilling large holes.
On the other side, multi-speed cordless drills such as the BLACK+DECKER LDX220C 20V MAX 2-Speed Cordless Drill Driver help you make holes quickly and drive with its high-speed, low-torque option. You can drill large holes by using its low-speed yet high-torque option, too.
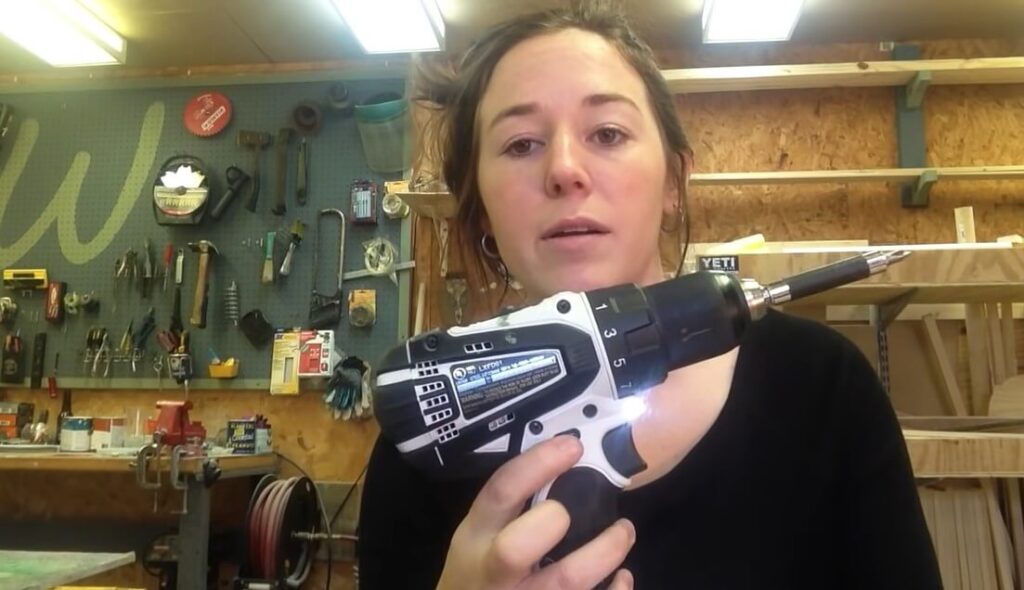
LED
Sometimes you may need to work in the remote and darkest corner of the room. Having an LED will help you to lighten up the drilling area for better visibility.
The LED light can be positioned in different locations like below the handle, at the top of the head, or on the chuck. It also should be switched on automatically when the speed control trigger is pulled for added convenience.
Speed Range Switch
Some cordless drill drivers designed with multiple gear options and, therefore, the variable speed control system will allow you to perform a wide range of tasks. The speed range selector switch typically located at the top part will allow you to alternate between the gears easily.
Bit Holder
During work, you may need to change between drills to driver bit frequently. Therefore, a built-in bit holder allows you to store an extra one securely and reduce the hassle of finding them here and there.
Drill Bits
Although it’s not an integral part of the cordless drill, it’s one of the most essential accessories because you can’t do anything without it. Based on the working criteria, there is a wide range of bit sizes and shapes available on the market.
What you need to take care of is not to use one bit for another purpose. More clearly, you can use a paddle bit to dig a hole in a wooden piece, while you have to use a screwdriver bit to drive a screw.
Safety Of A Cordless Drill
We talk a lot about the composition of the cordless drill, its uses, and its choosing criteria. Now let’s focus on how to use a cordless drill safely and efficiently.
- Wear safe clothing and eye protection goggles. Avoid loose-fitting outfits and jewelry as they could catch in the drill unconsciously.
- For long-time drilling, wear ear protection gear to be safe from sound effects, or choose a low-decibel machine that creates not more than 85 dB.
- Put musk on your nose to protect your lungs from dust created due to drilling masonry or even wood.
- Use the right drill bit for the right purpose of work.
- Check the chuck, whether it is adequately tightened or not, after inserting the bit.
How To Use A Drill Driver
You might think that’s why we’re bringing this point so last. However, you may notice that we have already discussed several essential aspects of the correct use of a cordless drill in the earlier part of this review. Here, we’re going to light up some basic settings for a cordless drill.
So, hang on to calm down and walk with us a little bit more.
Step 1: Selecting A Drill Bit
To make a perfect drill, first, we have to select the right bit for that. For selecting a drill bit, all you need is to measure the size and depth of the hole you’re going to drill.
There are various types of drill bits available. Among them, twist drill bits are more common and useful for cutting smaller and regular holes into wood or metal.
Besides this, you’ll also find Spur Point, Countersink, Flat Wood, Forstner, Hole-Saw, Masonry Bits, and many more. Each of them has some specific functions, though.
On the other hand, to drive screws, you need to choose perfect screwdriver bits made up of Philip, square, or hexagonal tips and shank – ideal for drilling pilot openings.
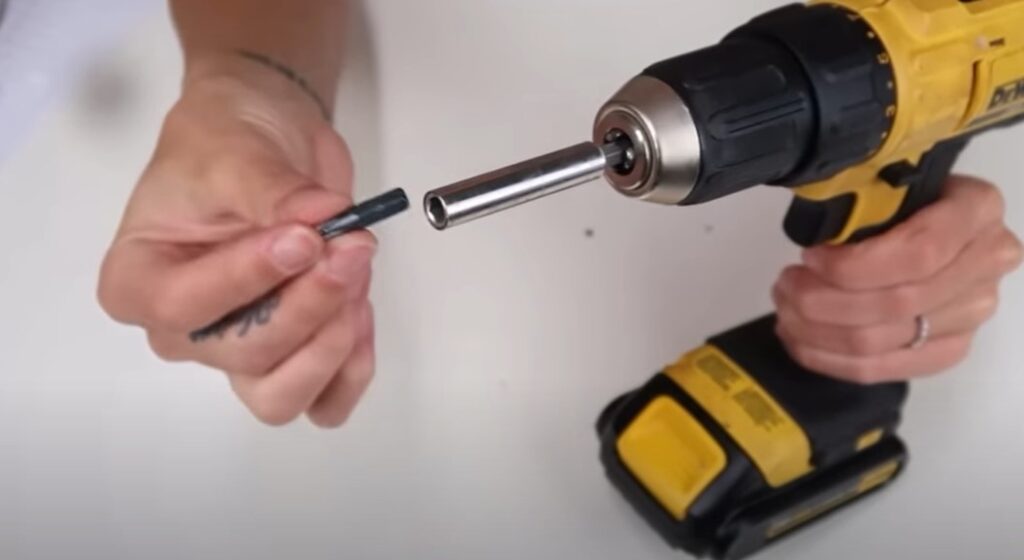
Step 2: Put The Chosen Bit Into The Drill
Grab the handle firmly and move the chuck counterclockwise to loosen it. Do it until the jaw is wide enough to keep the bit correctly.
Now insert the drill bit as far as it goes. Then twist the device sleeve clockwise directions until the drill bit is secured. To remove the bit, turn the sleeve in the counterclockwise direction by holding the handle firmly.
Step 3: Check All Other Settings
Battery: Before you start working, let’s check whether the battery power is in full charge or not. Please remove the battery from the drill during a break and place it in the charging station to recharge it.
Speed Range: Check the speed range you are selecting for. Use the low-speed setting for driving screws and drilling in metal or plastic and the high speed for drilling in wood.
Action Mode: Check for the mode of operation. Use drill settings for boring holes and drive settings for driving screws. Set the hammer mode for drilling into masonry or bricks.
Clutch Setting: Check the setting of the clutch according to the nature of your job. Choose a low-torque setting for soft materials such as drywall and a high-torque setting for masonry or decking.
Forward And Reverse Setting: When drilling holes or driving screws, set the tool in forwarding mode and remove drill bits from the hole or expel the screw using reverse settings.
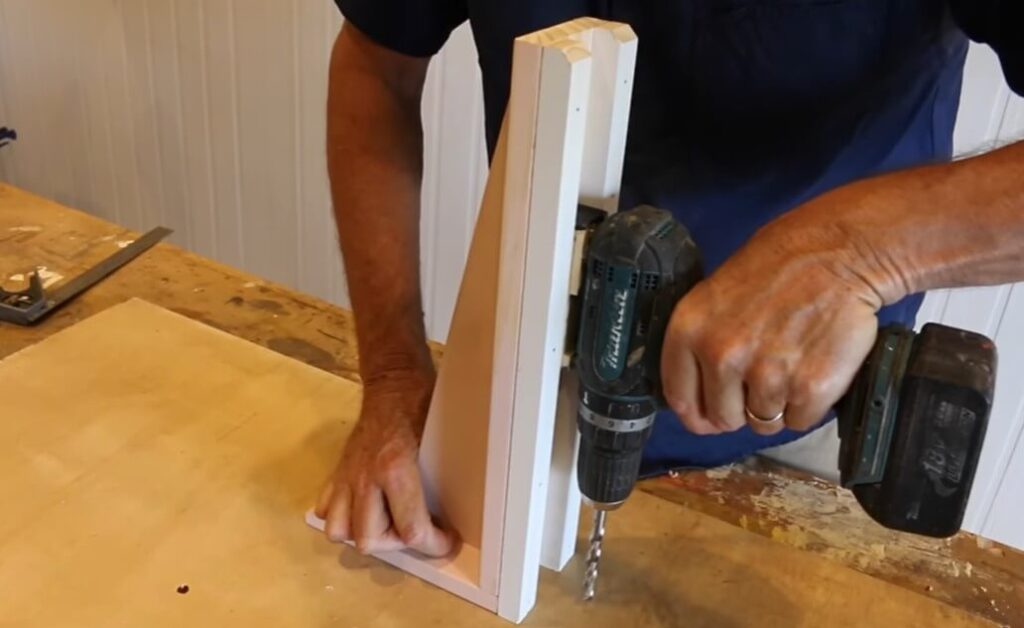
Step 4: Fix Up Your Material
The material in which you are going to drill should be secured to a sturdy surface. For example, if you want a piece of wood to be drilled, clamp it down with a table. It’s better, however, if you place the scrap wood under the materials you’re going to dig.
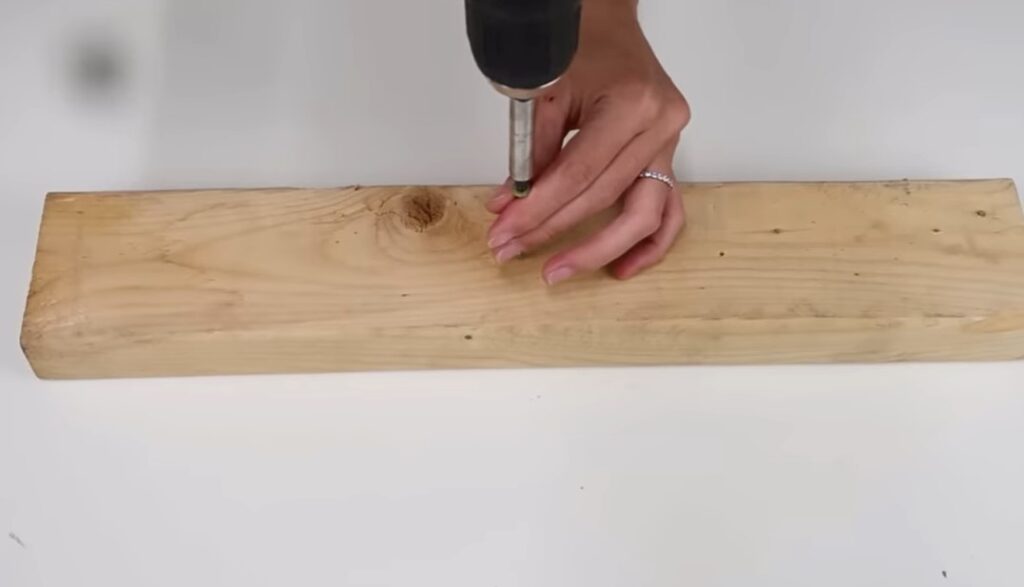
Step 5: Drill The Hole
Once it’s all set, there’s nothing between the bit and the piece you’re going to drill. So, first, touch the point where you’re going to make a hole, and then pull the trigger slowly.
Be sure that the drill is perfectly perpendicular to the surface to get a straight shaft. When the bit is slightly cut into the material, you can speed up and apply constant pressure until you have cut through the material.
Once the hole has been cut, spin the bit in the same direction and pull it out to get a cleaner hole.
Step 6: Examine The Hole
Once you have cut the pit, check whether or not the screw enters into it easily. If you have a problem with the size, take a bigger bit and drill again in the same way. However, keep in mind that once you dig a hole bigger, you can not make it small.
Step 7: Clean Up
After the drilling works have been completed, the next task is to clean up the entire site if any debris or dust is left. It will give you a fresh start for the following day.
What Else Can You Do With A Drill?
Besides formal or dedicated work for drill drivers (mentioned earlier part of this review), you can use it for the following unusual purposes.
- Mixing paint, grout, or concrete
- Dig a hole for gardening
- Sand curved surfaces
- Grind metal and remove rust
- Twist wires or yarns
- Make a mixer machine to mix food or else and many more.
Finally, Store It In The Right Place
To get long-term support from your cordless drill, proper maintenance is needed. If your model comes with a carrying bag or case, store it in it after every use. Before you do that, don’t forget to disconnect the battery from the drill driver, though.
Cautions: Once you’ve drilled a hole in your home or furniture, you can’t get it back. So, before applying this tool to the final materials, first plan, practice, and go slow.
Rookie Tips: Nothing special, but it’s relevant. Please read the instruction manual carefully provided by your manufacturer before proceeding with the operation because every model has some special settings. And finally, don’t be afraid of a cordless drill. Do some homework and enjoy drilling or driving!
EndNote
There’s nothing that can deter you from using these most useful tools anymore. We hope you’ll now feel like you can pick up this baby and do all your household projects by yourself. So, take your own drill and get to work.
Related Reviews:
- What are the Best cordless drills on the market?
- Which is the Best framing nailer for DIY home renovations?
- 15 Must-Have Power Tools For Any Home Improvement Projects
Recent Posts
Woodworking in 2025 is all about efficiency, precision, and smart technology. Whether you're a beginner or a seasoned craftsman, having the right tools can make all the difference. Here are the top 7...
Ever tried drilling into a piece of wood only to end up with a splintered mess or a wobbly hole? Yeah, it's more common than you think. Wood might seem like an easy material to work with, but...