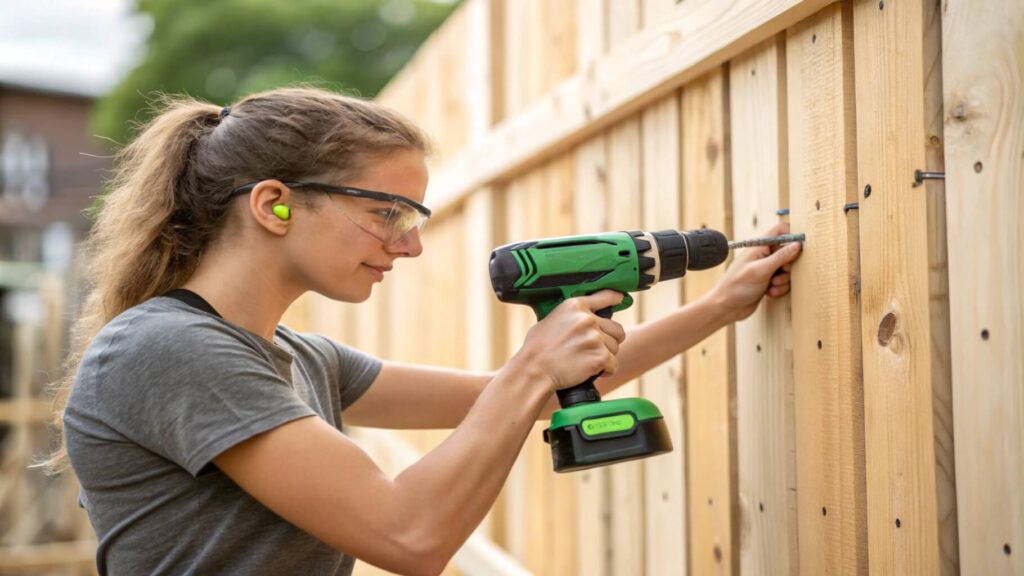
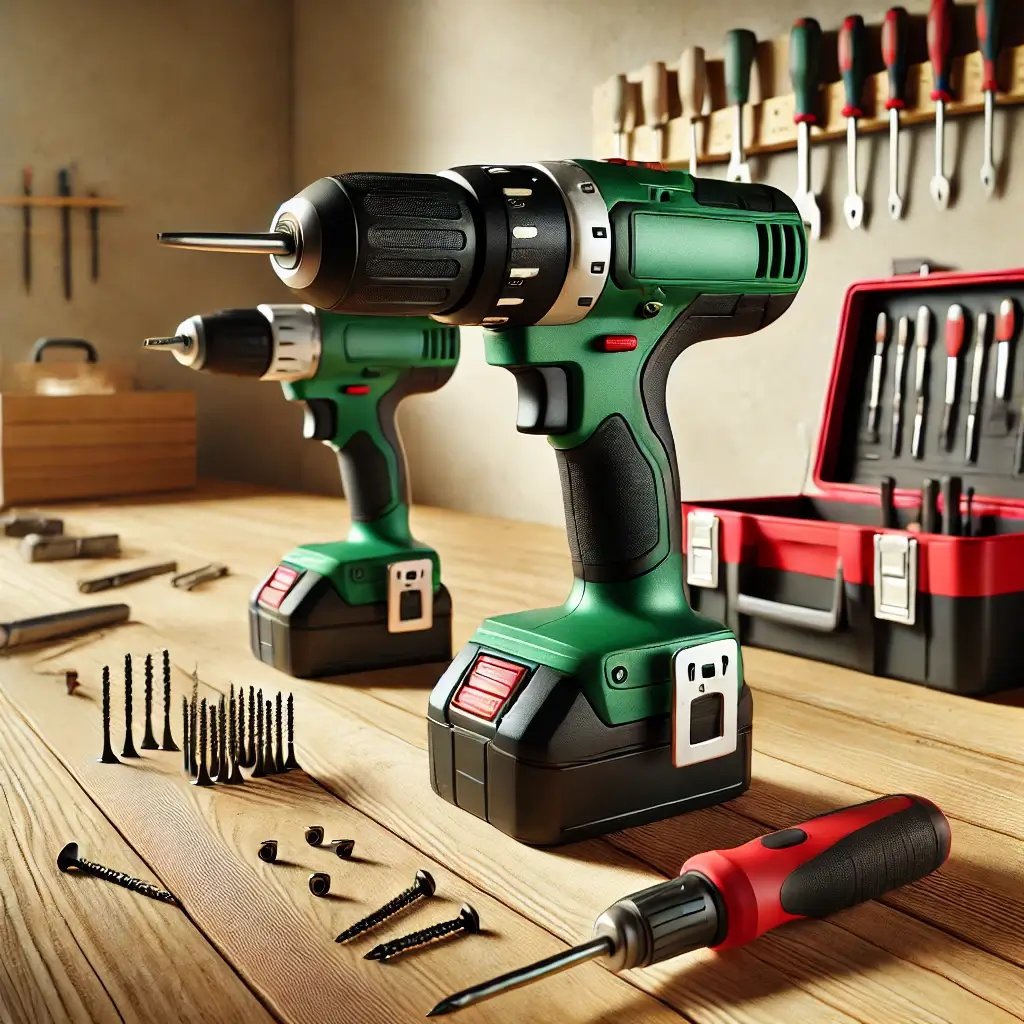
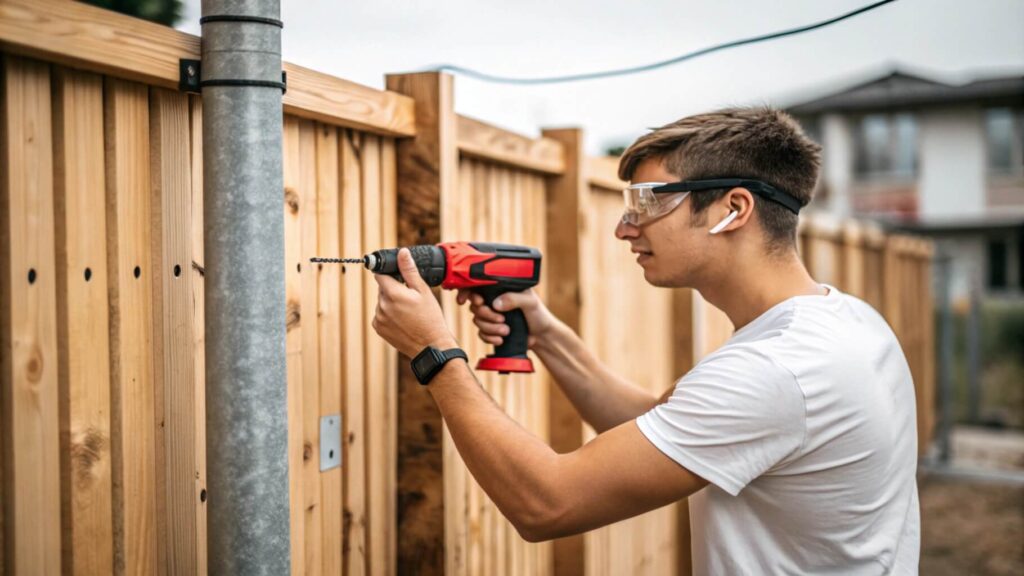
Yes, you can drill with a drill driver. It is versatile and can handle both drilling and driving screws.
A drill driver is a versatile tool found in most toolkits. It is designed to perform two main functions: drilling holes and driving screws. This dual capability makes it an essential tool for both DIY enthusiasts and professionals. Drill drivers come in various sizes and power levels, allowing them to handle different materials, from wood to metal.
Its compact size and ergonomic design make it easy to use, even in tight spaces. Whether you are assembling furniture or hanging pictures, a drill driver simplifies the task. Investing in a quality drill driver can save time and effort, making your projects more efficient and enjoyable.

What’s the Difference Between a Drill and a Drill Driver?
You might think a drill and a drill driver are the same. They sound alike, right? But they have some tiny differences! A regular drill is mostly for making holes. A drill driver, however, is a two-in-one buddy. It can make holes and help you put screws into things. It’s like having a friend who’s not just great at one thing but two!
What’s a Drill?
A drill is a power tool used for making holes in various materials. It’s versatile and comes in different types, such as:
- Corded Drills: Require a power outlet and provide consistent power.
- Cordless Drills: Battery-operated, offering more mobility.
- Hammer Drills: Suitable for drilling into concrete and masonry.
- Right-Angle Drills: Ideal for tight spaces.
Drills operate by spinning a drill bit at high speed. They often include a chuck to hold the bit securely. Drills can handle various materials, including wood, metal, and plastic.
Advantages and Limitations of a Drill
Drills offer several advantages:
- High Speed: Drills can operate at high RPMs, making quick work of drilling tasks.
- Versatility: Suitable for different materials and applications.
- Power Options: Available in corded and cordless models.
However, drills also have limitations:
- Limited Torque Control: Not ideal for driving screws.
- Specialized Bits Needed: Requires different bits for various materials.
- Heavier: Some models can be bulky and heavy.
What Is a Drill Driver, Anyway?
So, what’s this “drill driver” thing everyone talks about? 🤔 Imagine it like a super helpful robot that can twist screws in and make holes when you need them! A drill driver is a small tool that fits in your hand, and it’s great for doing all sorts of handy jobs around the house. It’s like the superhero of tools—it can drive screws and drill holes!
Drill drivers are typically cordless, offering greater mobility. They have adjustable torque settings, allowing for precision when driving screws.
Common features of drill drivers include:
- Keyless Chuck: Easy bit changes without tools.
- Variable Speed: Allows control over drilling and driving speed.
- Compact Design: Lightweight and easy to handle.
Advantages and Limitations of a Drill Driver
Drill drivers come with several advantages:
- Dual Functionality: Drills holes and drives screws.
- Adjustable Torque: Prevents overdrive screws.
- Portable: Usually cordless for better mobility.
However, they also have limitations:
- Lower Speed: Often slower than dedicated drills.
- Battery Life: Limited by battery capacity.
- Not for Heavy-Duty Tasks: Less powerful than some dedicated drills.

Can a Drill Driver Really Drill Holes?
The big question: can you drill with a drill driver? The short answer is YES! 🎉 But here’s the deal: while a drill driver can make holes, it might not be as powerful as a regular drill for really hard stuff like concrete. For wood, plastic, and softer metals, it works like a charm. Just grab the right drill bit (we’ll get to those later) and start drilling!
When to Use a Drill Driver and When Not to?
Here’s a little secret: not every job needs a drill driver! For everyday things like hanging a picture frame on the wall or making a hole in wood, it’s perfect. But if you’re working with hard bricks or heavy metals, a regular drill might be a better choice.
Think of a drill driver as your everyday helper, but a regular drill as the superhero for tough jobs. 🦸♂️
Can A Drill Driver Be Used As A Drill?
Yes, a drill driver can be used as a drill. Drill drivers are designed for both drilling holes and driving screws. This makes them highly versatile for various projects.
Let’s get details about a drill driver to understand its drilling action more specifically.
The Parts of a Drill Driver and Why They Matter
Let’s break down the parts of this mighty tool:
- Chuck: The part that holds the drill bit.
- Trigger: Makes the drill spin!
- Battery Pack: Gives it power.
- Handle: Where you hold it.
Each part works together to make drilling safe and easy!
Features Of A Drill Driver
| Feature | Description |
|---|---|
| Variable Speed Control | Allows you to adjust the speed for different materials. |
| Torque Settings | Helps prevent overdriving screws or damaging materials. |
| Interchangeable Bits | Can switch between drill bits and driver bits easily. |
Advantages Of Using A Drill Driver
- Versatility: Can handle both drilling and screw-driving tasks.
- Portability: Often cordless, making them easy to carry around.
- Ease of Use: User-friendly for both beginners and experts.
Limitations Of A Drill Driver
- Power: May not be as powerful as dedicated drills for heavy-duty tasks.
- Battery Life: Cordless models can run out of power during extended use.
- Precision: Not as precise as specialized tools for specific tasks.
In summary, a drill driver is a versatile tool that can be used for drilling and driving screws. While it may not replace a dedicated drill for heavy-duty tasks, it offers enough features and functionality for most DIY projects.
How to Use a Drill Driver for Drilling Safely?
Safety first! When using a drill driver, always wear goggles to protect your eyes from dust and small bits. Hold it firmly, press the trigger gently, and don’t push too hard—let the tool do the work. Imagine you’re pressing an elevator button, not smashing it! 😊
Does an Impact Driver Replace a Drill?
Curious about using a drill driver for drilling tasks? Many people often ask, “Can you drill with a drill driver?” The answer is simple: yes, you can! But another burning question follows: “Does an impact driver replace a drill?” Let’s dive into this and find out more.
Impact drivers and drills have different functions. They may look similar, but they serve unique purposes. An impact driver is great for driving screws quickly and with more force.
Drills excel at making precise holes in various materials. They offer better control and accuracy. The key is understanding when to use each tool.
Differences Between Impact Drivers And Drills
Here’s a table to highlight the key differences:
| Feature | Impact Driver | Drill |
|---|---|---|
| Primary Use | Driving screws | Drilling holes |
| Power | High torque | Moderate torque |
| Control | Less control | More control |
| Speed | Fast driving | Variable speed |
When To Use An Impact Driver
- Driving long screws into hard materials
- Fastening bolts
- Heavy-duty tasks
When To Use A Drill
- Drilling precise holes
- Working with delicate materials
- Projects requiring more control
Both tools are valuable in a toolbox. They complement each other well. Impact drivers and drills each have their place in different tasks.
Drilling Capabilities of a Drill Driver
Drill drivers are versatile tools commonly used in various DIY projects and professional tasks. Understanding their drilling capabilities is essential for achieving the best results. While primarily designed for driving screws, drill drivers can also be used for drilling holes, but with certain considerations.
This section explores their drilling capabilities, focusing on the materials they can handle and their limitations.
Materials For Drilling
Drill drivers can handle a variety of materials, making them useful for many tasks. Here are some common materials and tips for drilling each:
- Wood: Drill drivers are perfect for drilling holes in wood. Use a wood drill bit for clean, precise holes. Avoid applying too much pressure to prevent splitting.
- Metal: Drilling metal requires a special metal drill bit. Use a lower speed setting and apply cutting oil to reduce friction and heat. Ensure the bit is sharp to avoid slipping.
- Plastic: For plastic, use a high-speed steel (HSS) bit. Drill at a moderate speed to avoid melting the plastic. Secure the plastic to prevent movement during drilling.
- Drywall: Drill drivers can easily handle drywall with a standard twist bit. Ensure a steady hand to avoid damaging the surrounding area.
Below is a table summarizing the suitable drill bits and speed settings for different materials:
| Material | Drill Bit Type | Speed Setting |
|---|---|---|
| Wood | Wood Drill Bit | High |
| Metal | Metal Drill Bit | Low |
| Plastic | HSS Drill Bit | Moderate |
| Drywall | Twist Drill Bit | High |
Limitations Of A Drill Driver
While drill drivers are versatile, they have limitations. Understanding these can help you avoid damage to the tool or workpiece:
- Concrete: Drill drivers are not suitable for drilling concrete. A hammer drill or rotary hammer is needed for this tough material. Drill drivers lack the necessary impact force.
- Thick Metal: For thick metal, drill drivers might struggle. They lack the power and torque required. A dedicated metal drill is recommended.
- Precision Drilling: Drill drivers are not ideal for tasks requiring high precision. They may wobble or drift, causing inaccurate holes.
- Continuous Use: Drill drivers can overheat with continuous use. Frequent breaks are necessary to cool down the motor and prevent damage.
Below is a list summarizing the major limitations:
- Inadequate for concrete drilling
- Struggles with thick metal
- Not suitable for high-precision tasks
- Overheating with continuous use
Recognizing these limitations ensures safe and efficient use of your drill driver.
Setting Up Your Drill Driver
Can you drill with a drill driver? Absolutely! But before you start, it’s crucial to set up your drill driver correctly. Proper setup ensures your tasks are performed efficiently and safely.
Let’s dive into the essential steps for setting up your drill driver.
Choosing The Right Bit
Choosing the right bit is vital for any drilling task. The bit type affects the hole’s size, depth, and cleanliness. Here’s how to pick the right bit:
Material of the Bit: Bits come in various materials. High-speed steel (HSS) bits are great for wood and soft metals. Titanium-coated bits are durable and good for hard metals. Carbide-tipped bits are excellent for masonry and concrete.
| Bit Type (Material based) | Best Used For |
|---|---|
| HSS Bits | Wood, Soft Metals |
| Titanium-coated Bits | Hard Metals |
| Carbide-tipped Bits | Masonry, Concrete |
Bit Size: Ensure the bit size matches your project’s requirements. Smaller bits are perfect for precise tasks, while larger bits are used for bigger holes.
Types of Drill Bits: Drill bits are like the shoes for your drill driver—you need the right pair for each job! Here are a few types:
- Twist Bits: The classic choice for wood and plastic.
- Masonry Bits: Perfect for stone or brick.
- Spade Bits: Ideal for making bigger holes in wood.
Each bit is designed for a specific material. Just pick the right one, and you’re good to go!
Always match the bit to your project’s material. Using the wrong bit can damage your drill driver or workpiece. Secure the bit tightly in the chuck to prevent slipping. Follow these simple steps, and you’ll be ready to drill efficiently.
Adjusting Torque Settings
Adjusting the torque settings on your drill driver is crucial for controlling the power applied. This prevents overdriving screws or damaging materials. Here’s how to adjust the torque settings:
- Locate the Torque Adjustment Ring: The ring is usually near the chuck. It has numbers or symbols indicating different torque levels.
- Select the Appropriate Setting: For drilling, choose a higher torque setting. For screwing, select a lower setting to avoid stripping screws.
Here’s a quick guide to torque settings:
| Torque Level | Application |
|---|---|
| Low (1-4) | Small Screws, Soft Materials |
| Medium (5-8) | Medium Screws, Harder Woods |
| High (9-12) | Large Screws, Hard Metals |
Using the right torque setting protects your workpiece and ensures precise results. Adjust the torque based on the task, and your drill driver will perform efficiently. Always start with a lower setting and increase as needed. This prevents overdrive and ensures control.
How to Change Drill Bits on a Drill Driver?
Changing drill bits is easy-peasy! Here’s a simple guide:
- Open the Chuck: Twist it to loosen the current bit.
- Insert the New Bit: Slide it in carefully.
- Tighten the Chuck: Twist it back to secure the new bit.
And that’s it! You’re all set to start drilling again.
Techniques For Effective Drilling
To achieve the best results during drilling with your drill driver, you need to follow certain techniques. This section covers effective drilling methods to ensure your projects are successful and safe.
Proper Hand Positioning
Hand positioning plays a crucial role in effective drilling. Proper hand positioning ensures you have control and stability while drilling.
Here are some tips for proper hand positioning:
- Grip the drill driver firmly but not too tightly. A relaxed grip allows better maneuverability.
- Use both hands. One hand should hold the handle, and the other should support the drill body.
- Keep your wrists straight. Bent wrists can cause strain and reduce control.
- Align the drill bit with the drilling spot to avoid slipping.
Maintaining Steady Pressure
Applying the right pressure is essential for effective drilling. Maintaining steady pressure helps you avoid damaging the material and ensures a clean hole.
Follow these steps to maintain steady pressure:
- Start with light pressure. Gradually increase it as the drill bit penetrates the material.
- Keep the drill perpendicular to the surface. This ensures even pressure distribution.
- Avoid pushing too hard. Excessive pressure can break the drill bit or damage the material.
- Listen to the drill. A high-pitched sound indicates you are applying too much pressure.
To help you remember:
- Light pressure at the start
- Perpendicular drill alignment
- Moderate pressure throughout
- Listen to the sound
These simple tips can make a big difference in your drilling projects. By mastering hand positioning and pressure control, you can achieve professional results with your drill driver.

Safety Tips for Using a Drill Driver
Stay safe while you drill! Here’s a quick checklist:
- Wear safety goggles.
- Keep your hair and clothes out of the way.
- Don’t force the drill—let it do the work.
- Always hold the drill steady.
Remember, drilling is fun, but safety comes first! 😊
Tips and Tricks for Perfect Drilling
Here are some pro tips:
- Use a Pilot Hole: For big screws, start with a small hole.
- Slow and Steady: Don’t rush; let the drill go at its own speed.
- Use Tape: Mark your drill bit with tape to know how deep to go!
Common Mistakes to Avoid When Using a Drill Driver
Drilling with a drill driver is a common task in many DIY projects. Yet, even seasoned users can make mistakes. These errors can damage your tools and materials. Understanding common drilling mistakes can help you avoid them and achieve better results.
Overheating The Drill
One of the most frequent mistakes is overheating the drill. Drilling for extended periods without breaks can cause the drill to overheat. This can damage the motor and reduce the lifespan of your tool. To prevent overheating, follow these tips:
- Take breaks: Allow the drill to cool down after continuous use.
- Use the right speed: High speeds generate more heat. Use lower speeds for harder materials.
- Lubricate the bit: Use drilling lubricant or water to cool the bit while drilling.
Here is a table showing appropriate speeds for different materials:
| Material | Recommended Speed (RPM) |
|---|---|
| Wood | 1500-2000 RPM |
| Metal | 500-1000 RPM |
| Masonry | 700-1200 RPM |
Following these guidelines can help you prevent overheating. Your drill will last longer and perform better.
Incorrect Bit Usage
Using the wrong drill bit is another common mistake. Each material requires a specific type of bit. Using the wrong bit can damage both the bit and the material. Here are some tips to choose the right bit:
- Wood bits: These have a sharp point to easily penetrate wood.
- Metal bits: Made from high-speed steel, these bits can cut through metals.
- Masonry bits: These bits have a carbide tip for drilling into brick or concrete.
Refer to this table for quick guidance:
| Material | Recommended Bit |
|---|---|
| Wood | Brad Point Bit |
| Metal | High-Speed Steel Bit |
| Masonry | Carbide-Tipped Bit |
Choosing the right bit ensures clean holes and extends the life of both the bit and the drill driver.
When To Upgrade
Drill drivers are versatile tools, but there comes a time when upgrading becomes essential. Knowing when to upgrade your drill driver can save you time, effort, and money. This section will help you identify the signs that indicate it’s time for a new tool and the advanced features you should consider.
Signs You Need A New Tool
Recognizing the signs that you need a new drill driver is crucial. Here are some indicators:
- Decreased performance: If your tool struggles with tasks it used to handle easily, it may be time for an upgrade.
- Overheating: Consistent overheating can indicate internal problems.
- Battery issues: Batteries that don’t hold charge or take too long to charge are red flags.
- Unusual noises: Grinding or squealing noises can signal mechanical issues.
- Frequent repairs: Spending too much on repairs is a clear sign.
To make it easier, here’s a quick comparison table:
| Issues | Significance |
|---|---|
| Decreased Performance | Tool struggles with basic tasks |
| Overheating | Indicates internal problems |
| Battery Issues | Short battery life or long charging time |
| Unusual Noises | Mechanical issues |
| Frequent Repairs | High repair costs |
Advanced Features To Consider
When upgrading, look for advanced features that can enhance your work:
- Brushless Motors: These motors are more efficient and have a longer lifespan.
- Variable Speed Settings: Allows better control for different tasks.
- Higher Voltage: More power for tougher jobs.
- Smart Battery Technology: Longer battery life and faster charging.
- LED Lighting: Illuminates your work area.
Here’s a table to summarize these features:
| Feature | Benefit |
|---|---|
| Brushless Motors | Increased efficiency and lifespan |
| Variable Speed Settings | Enhanced control |
| Higher Voltage | More power |
| Smart Battery Technology | Longer battery life |
| LED Lighting | Better visibility |
Choosing a drill driver with these features ensures better performance and longevity, making your work easier and more efficient.
FAQs About Drill Drivers and Drilling
Can A Drill Driver Be Used As A Drill?
Yes, a drill driver can be used as a drill. It handles basic drilling tasks in wood, metal, and plastic. Ensure you use the correct drill bit for the material.
Can You Drill Holes With A Drill Driver?
Yes, you can drill holes with a drill driver. Use the appropriate drill bit for the material. Ensure the drill driver has enough power for the job.
Can You Drill With A Driver?
Yes, you can drill with a driver if it has a drill function. Use appropriate drill bits for best results.
Is It Okay To Drill With An Impact Driver?
Yes, you can drill with an impact driver. Use hexshank drill bits for the best results. Ideal for light drilling tasks.
Can You Use A Drill Driver For Drilling?
Yes, a drill driver can handle light drilling tasks in wood and soft materials.
What Materials Can A Drill Driver Drill?
Drill drivers can drill into wood, plastic, and soft metals.
Is A Drill Driver Different From A Drill?
Yes, drill drivers combine drilling and screwdriving functions, while drills focus solely on drilling.
Summary and Final Thoughts
Yes, you can drill with a drill driver for many tasks. It’s versatile and user-friendly. Always choose the right drill bit for your project. Understanding your tool’s capabilities ensures efficient and safe drilling. This knowledge empowers you to tackle DIY projects confidently.
Happy drilling!
Recent Posts
15 Ga vs 16 Ga Finish Nailer: Which One Is Right for Your Project?
If you're diving into the world of finish carpentry or simply trying to upgrade your home tool kit, you've probably run into the question: 15 ga vs 16 ga finish nailer—what’s the big deal? They...
Woodworking in 2025 is all about efficiency, precision, and smart technology. Whether you're a beginner or a seasoned craftsman, having the right tools can make all the difference. Here are the top 7...

