
If you are someone who likes to work on DIY woodworking projects, chances are you use the table saw more often for all the straight cuts. On the contrary, if you aren’t the lucky ones, you have been longing for a table saw forever as other tools can’t quite make the cut. You know, all this will be a thing of the past if only you know how to use a circular saw as a table saw.
Using your circular saw as a table saw is a brilliant idea for an individual who doesn’t want to spend a lot of money upfront for a big table saw. The power delivery of such a circular saw is also potent enough to make any repeated cut as you see fit. In a sense, it’s the perfect alternative for an expensive table saw for which you don’t have the right space.
Below we will discuss the details of making a homemade table saw out of a standard grade circular saw. Before we begin, you should know there is a lot of precise measuring, cutting, and joining involved. If you don’t have enough experience to do these on your own, we suggest taking professional help.
With that being out of the way, let’s get on with the step-by-step guide.
Things You Will Need
Making a table saw from the handheld circular saw will require you to build a table and a slot for the circular saw to sit in. so the work consists of cutting out panels, table legs, and plunge cuts for the circular saw head. You will also need to join each piece together with wood glue and appropriate screws.
So the tool list would look like something like this.
- Safety gears
- Power drill
- Borehole drill bits
- Jigsaw
- Circular saw
- Screwdriver
- Wood glue
- Angle drill guide
- Measuring tape
- A couple of wood clamps
- Sander
- Power strip or electrical junction
- Dust Vacuum Cleaner
- Scale with angle function
Step By Step Guide to Making Table Saw With a Circular Saw
Now we will begin the step-by-step process of making a DIY table saw. It’s not necessary that you have to do this in one day. You could split the whole process into a couple of segments as you see fit. First, make the table, and then work on the rest as you move forward.
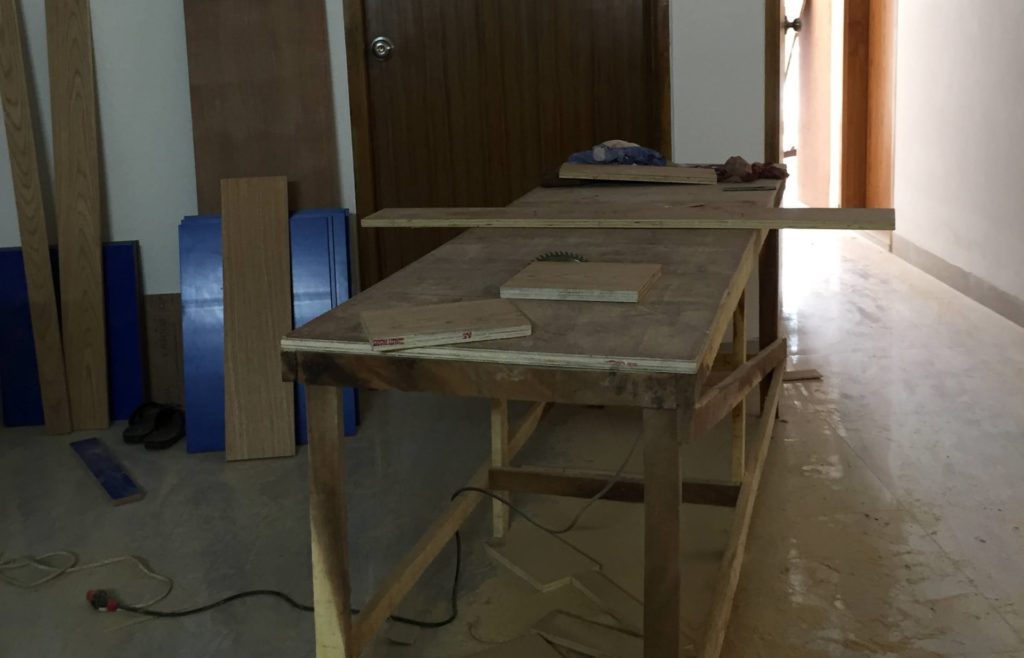
Step 1: Make a table for the circular saw
The table will be the main contraption that will hold your circular saw and double as a work plane. There are a couple of ways you can go about the table. You could make a box-like contraption that will keep all the gears inside along with wood dust. Or you could make a simple four-legged table with a giant square hole on the top panel.
Alternatively, making a 45-degree plunge cut on the top panel also could work given you will be making the table around it. The ideal panel dimension would be 2 x 2 feet in this case. Remember the longer the panel will be the more vertical support you will need.
With a simple table design, you will have to collect sawdust manually with a vacuum. This will also work as your regular work table where you just need to change out the top slot to insert your circular saw mod. That way, you could save space in your limited workshop environment.
Step 2: Cut out a place for the saw
In this step, you will make a way to protrude the circular saw blade on the table. Simply rotate your panel upside down and make a clean vertical plunge cut. You must make a perfectly 45-degree angle cut relative to the panel. This will also make sure that each time you cut a panel with the saw, it will be a perfect square.
Now if you want to transform that table saw into a simple work table, you just have to make the same panel cut out to replace the square whole. Place some 4-inch wide wood pieces beneath the planes as lips. It will hold the circular saw flat on the table.
Step 3: Attach the circular saw
The next step is to attach the circular saw and drill some screws through the saw base. Drill four of 5 holes and place screws that don’t protrude from the other side. In the case of stick-out screws, you can use a sander and file them down to the plane level.
Take a good measure before finally placing it with screws. One thing to note is that it won’t be possible later to fix any angle or vertical alignment issue. So double-check your every measurement for the circular saw alignment.
Step 4: Securing electronics
To start a circular saw remotely, you will need a power strip with an on/off switch. Place the strip under the table or somewhere close where you can access the switch easily. Now use a zip tie or screws to install the power strip securely.
Now when you will be using screws make sure they are a little bit shorter than the total thickness of the panel. This will save grinding time in the overall process. And remember to zip-tie the trigger switch on the circular saw. Now you will be able to directly control the power delivery to the saw through the on/off switch.
Step 5: Make a T shape guide
In order to cut a perfect square repeatedly, you will need a guide that will determine the exact distance from the blade. This is easy as you only need a T scale perpendicular to the blade. Place the wood bar along the base and attach a T bar on the other end. Glue them and screw them properly and leave them to dry with a couple of clamps.
Once it’s dry, screw another permanent clamp that will act as the position-securing clamp. Now draw some measurements on the table away from the blade. Mark it down for future reference.
Step 6: Installing vacuum for dust collection
This is an optional step. You don’t need a dedicated dust collector if you are going to clean up after anyway. But it would help to reduce the dust formation around your workspace.
Step 7: Make your first cut with the new homemade table saw
Once everything is in the right place and secured nicely, take out the T-scale guide and pick a width. Push down the first wood panel through the blade and cross-check the cutting quality with tape. If all looks good, you have a DIY table saw!
Pro Tips for Making a Table Saw Out Of Circular Saw
First of all, a DIY table saw is not a replacement for a full-fledged table saw. But if you can take the precise measurement and join every piece together with utmost attention, it would be worth your while. Here are some pro tips to make your DIY table saw more functional and durable.
- Use glue in every joint so it won’t squeak after a while
- Use a rubber pad under table legs to have a stable plane
- Use sawhorses to level out the plane even finely
- Make a DIY safe handle to push wood pieces through the blade
- Keep track and mark down the motion of the blades
Final Thoughts
In the end, once you see the final product, you will be the happiest man thinking now you too have a fancy table saw. Hope this guide on how to use a circular saw as a table saw helps you make your dream come true.
Related Reviews
- What Are The 10 Best Affordable Circular Saw
- The 10 Best Jigsaw for the Money
- Shopping Guide For The 10 Best Reciprocating Saw Under $100
- Should I buy a miter saw or a table saw first?
- How do Cut a Straight Line with a Circular Saw?
- How to Use a Jigsaw to Cut Curves?
Recent Posts
Woodworking is one of the most rewarding hobbies and professions, but it also comes with serious risks if proper precautions are not taken. Whether you're working with a table saw, planer, or simple...
What to Use If You Don't Have a Brad Nailer: Handy Alternatives
You can use a hammer and finishing nails paring with nail set or wood glue if you don't have a Brad Nailer. These tools effectively secure trim and small woodworking projects. So, if you’re in...