
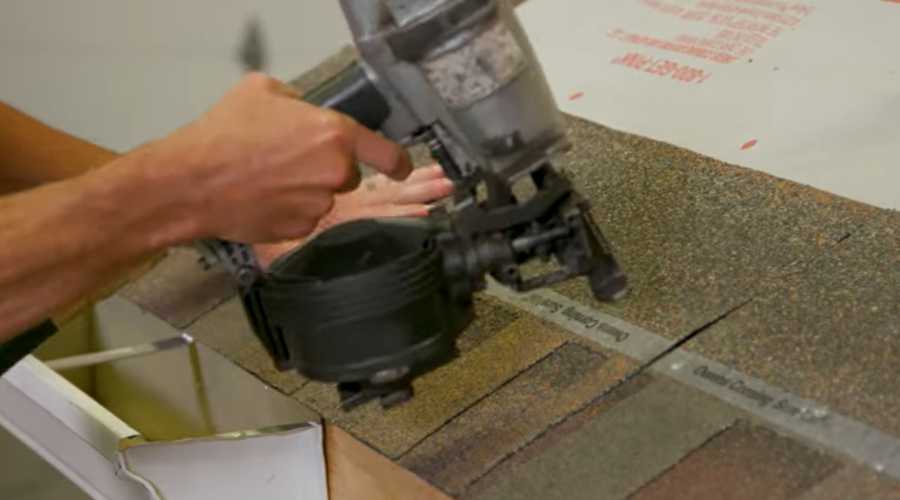
When it comes to roofing projects, one tool that can save you time and effort is a power-driven nailer. This powerful tool is designed to drive nails into roofing materials at a high speed and with great precision, making it an ideal choice for both DIY homeowners and professional roofers.
However, when using a power driven nailer on roofing materials, you will require a certain level of skill and knowledge to ensure that the job is done safely and effectively.
In this blog post, we will explore some important tips and guidelines to consider when using a power driven nailer on roofing materials. From the types of roofing materials best suited for this method to why proper installation matters, and how power-driven nailers can significantly enhance the roofing process, we will explore all.
Join us as we uncover the secrets to achieving roofing excellence.
Understanding Of Roofing Materials
Roofing materials come in various forms, each with its distinct characteristics and suitability for different applications. Let’s explore some common types and understand which ones can be effectively installed using power-driven nailers:
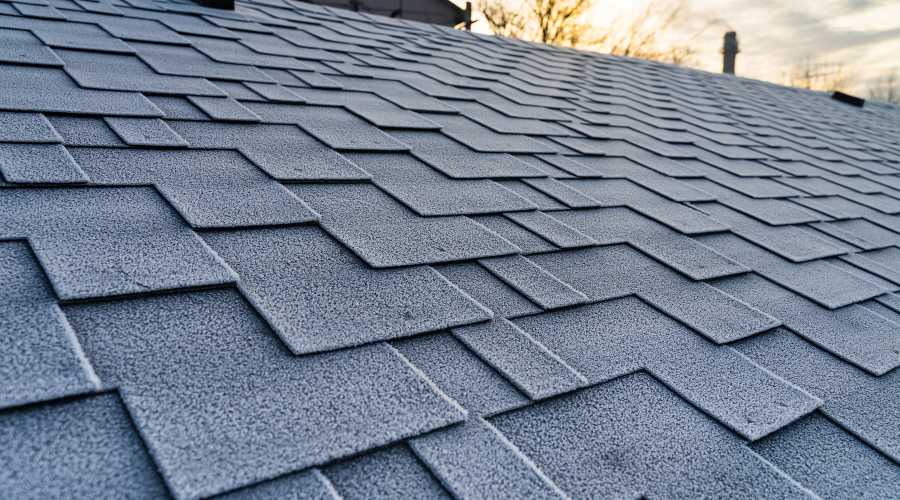
Asphalt Shingles:
- Asphalt shingles are among the most popular roofing materials due to their affordability and versatility.
- They are lightweight, easy to install, and available in a wide range of colors and styles.
- Asphalt shingles are well-suited for power-driven nailers, making the installation process faster and more precise.
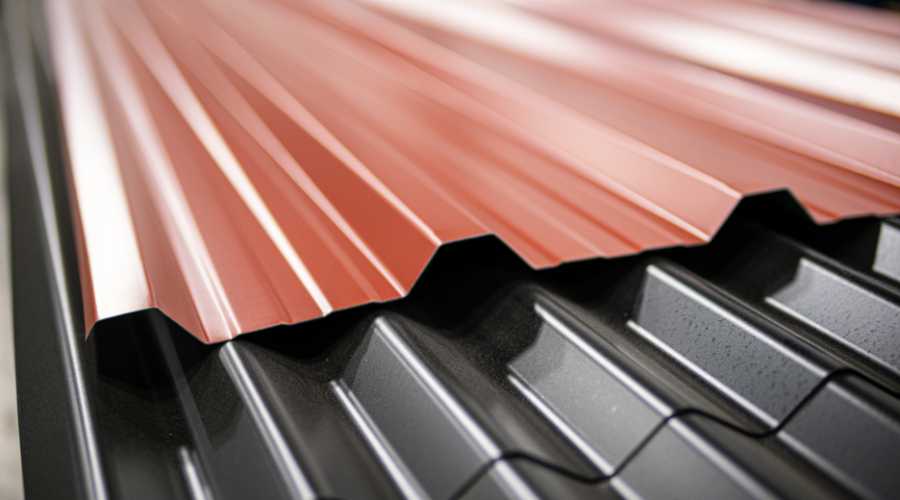
Metal Roofing:
- Metal roofs are known for their durability and longevity, often lasting 50 years or more.
- They come in materials such as steel, aluminum, and copper and provide excellent weather resistance.
- Power-driven nailers are commonly used for metal roofing, as they can quickly secure the metal panels without damaging them.
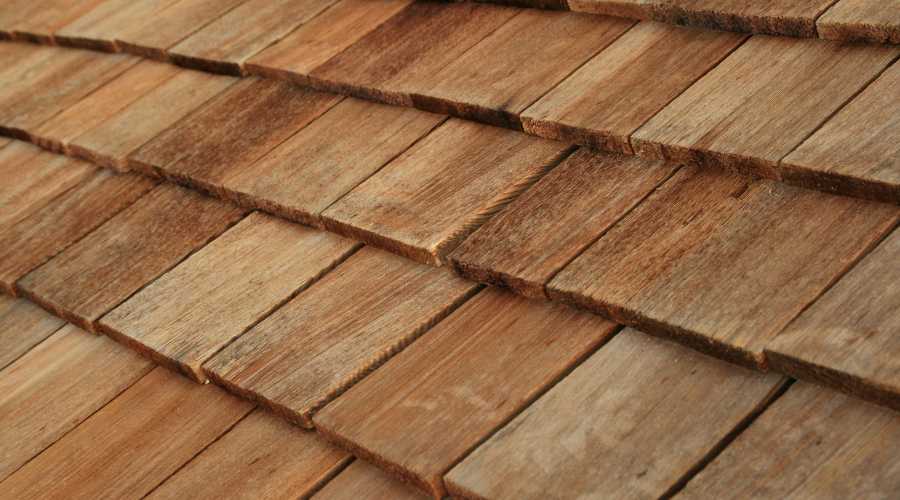
Wooden Shingles:
- Wooden shingles offer a charming and natural aesthetic appeal to roofs.
- They are often used in historic or traditional-style homes.
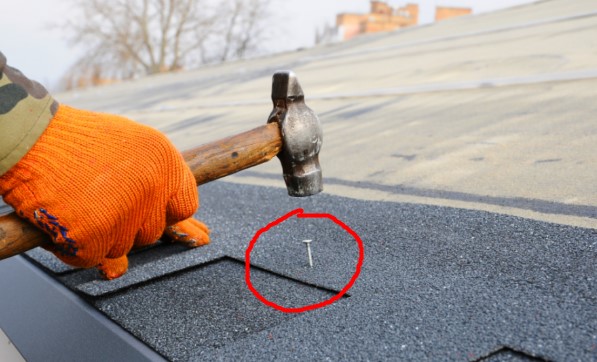
- While wooden shingles can be installed with power-driven nailers, caution is needed to prevent splitting the wood, so manual nailing is sometimes preferred.
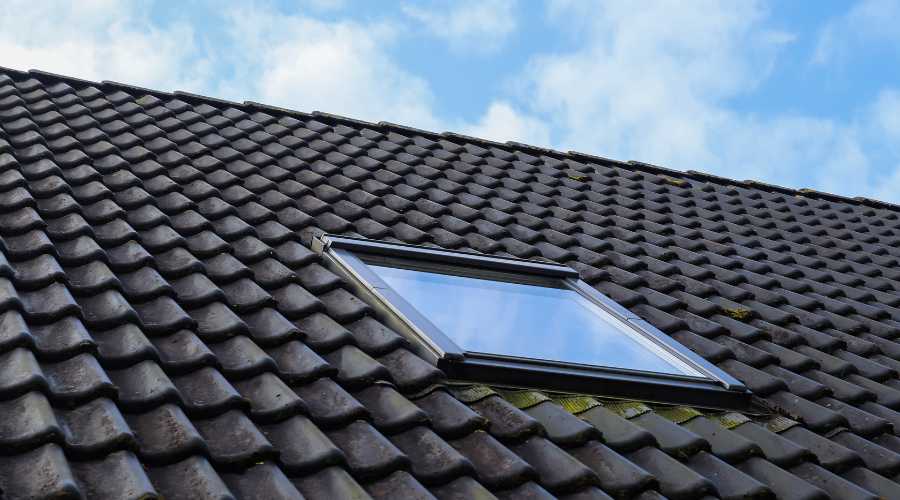
Tile Roofing:
- Tile roofing, including clay and concrete tiles, provides a durable and distinctive look.
- Tiles are heavy, so proper structural support is crucial when installing them.
- While power-driven nailers can be used on some tile roofs, manual nailing is often preferred due to the fragility of the tiles.
Slate Roofing:
- Slate roofing is highly durable and can last for centuries.
- It offers a natural and elegant appearance.
- Due to the weight and thickness of slate tiles, power-driven nailers are generally not recommended for installation. Traditional hand-nailing is the preferred method.
Synthetic Roofing Materials:
- Synthetic roofing materials like synthetic slate or rubber roofing mimic the appearance of natural materials while offering added benefits like affordability and lightweight properties.
- Power-driven nailers can be used for many synthetic roofing materials, making them a cost-effective choice for installation.
Expert Tips: You can utilize power-driven nailers to install asphalt shingles, metal roofing, or any other type of synthetic roofing material. Because these roofing materials are usually lightweight and sturdy, they are less prone to be damaged during installation.
However, for heavier and more fragile materials like wooden shingles, tile roofing, and slate roofing, manual nailing or specialized roofing fasteners are often preferred to ensure the roof’s longevity and integrity.
Always consult manufacturer guidelines and consider the specific characteristics of the roofing material when choosing the installation method.
What is a Power Driven Nailer?
Power-driven nailers, also known as nail guns or pneumatic nailers, are indispensable tools in the world of roofing and construction. These devices have revolutionized the way roofing materials are installed, offering efficiency, precision, and speed.
Let’s explore what power-driven nailers are, the various types available, and the benefits they bring to roofing projects.
Understanding Power Driven Nailers:
Power-driven nailers are handheld tools designed to drive nails into various materials using compressed air or gas. They come in several types, each tailored to specific applications.
Here are some common types of power-driven nailers:
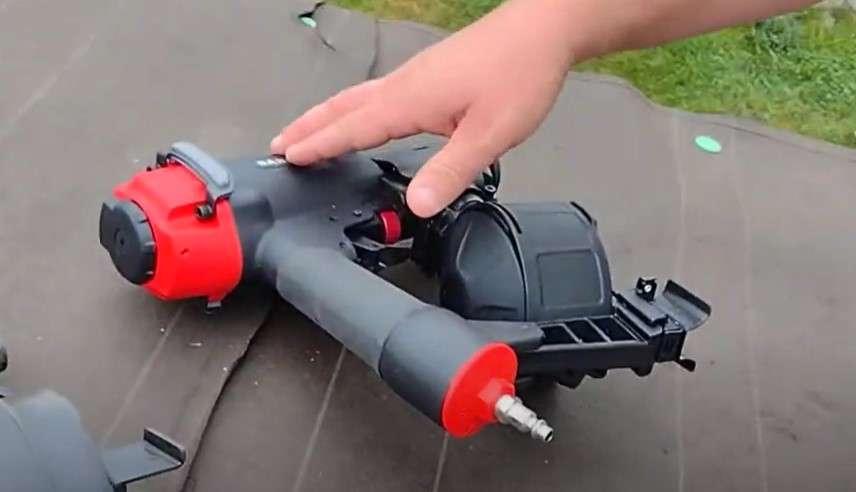
Pneumatic Nailers:
- Pneumatic nailers are the most widely used type and operate using compressed air from an air compressor.
- They are versatile and come in various styles, including roofing nailers, framing nailers, and finish nailers.
- Roofing nailers, in particular, are specially designed for attaching roofing materials such as shingles or metal panels.
Gas-Powered Nailers:
- Gas-powered nailers use a fuel cell and battery combination to drive nails.
- They offer mobility and are ideal for remote job sites where access to electricity or air compressors is limited.
Cordless Electric Nailers:
- Cordless electric nailers are battery-operated and provide the convenience of portability without the need for air compressors or gas cartridges.
- They are quieter and emit fewer fumes than gas-powered nailers.
Benefits of Power-Driven Nailers for Roofing Projects:
Power-driven nailers offer several advantages when it comes to roofing installations:
Speed and Efficiency:
- Power-driven nailers significantly expedite the roofing process by allowing rapid and consistent nail placement.
- This increased efficiency can save both time and labor costs on roofing projects.
Precision and Consistency:
- These nailers ensure consistent nail depth and placement, reducing the risk of overdriven or underdriven nails.
- Proper nail placement is crucial for the long-term performance and weather resistance of the roof.
Reduced Fatigue:
- Using a power-driven nailer reduces the physical strain on roofing professionals compared to manual nailing.
- Roofers can work for longer periods without experiencing as much fatigue.
Enhanced Safety:
- Power-driven nailers often feature safety mechanisms that prevent accidental firing.
- Roofers can focus on accurate installation while minimizing the risk of injuries associated with traditional hammering.
Improved Versatility:
- These tools can accommodate various nail lengths and materials, making them adaptable to different roofing projects and materials.
It is obvious from the preceding explanation that the use of power driven nailers on roofing materials or other building tasks is widespread. By employing a power nailer, you will get speed, precision, less fatigue, and more safety.
As a result, choosing the right type of nail gun and using it correctly can contribute to the success and longevity of roofing projects.
Considerations When Using A Power-Driven Nailer On Roofing Materials
When using a power-driven nailer on roofing materials, it’s important to follow safety guidelines and best practices to ensure a successful and safe roofing installation.
Here are some key considerations that should you take into account while using a nail gun for installing roofing materials:
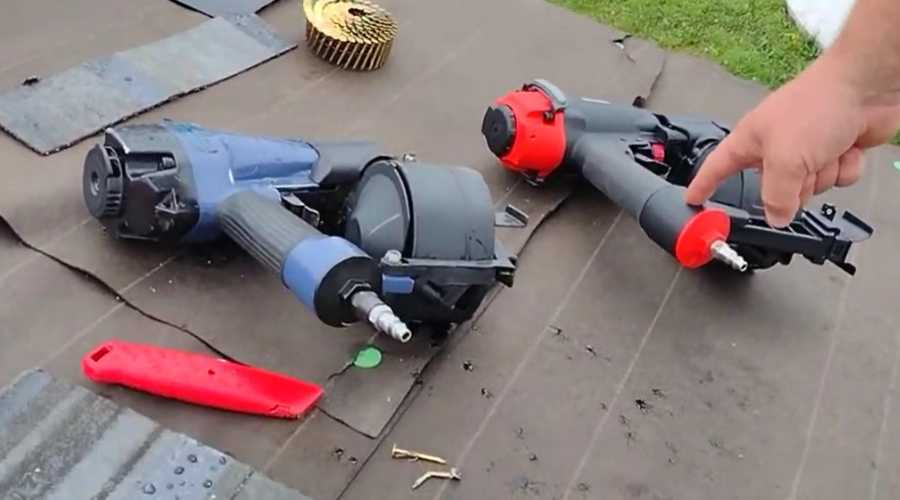
1. Select the Right Nailer:
Choose a nailer specifically designed for roofing applications, such as coil nailer or roofing nailer. Roofing nailers are typically pneumatic (air-powered) or cordless. Ensure it is in good working condition before starting.
It is also important to consider the size and weight of the nailer, as the user’s comfort and safety can be compromised with a tool that is too heavy or difficult to maneuver.
Additionally, the nailer’s depth control mechanism and magazine capacity should be taken into account, as these features can affect the precision and accuracy of the nail placement.
2. Use the Right Nails:
Select the appropriate nails for your roofing materials. Common roofing nails have large heads and are designed to secure shingles, tiles, or other roofing materials effectively.
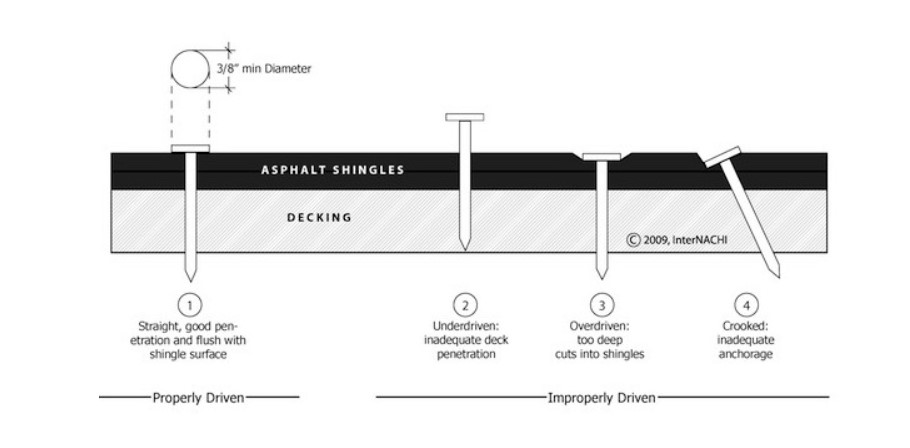
It is also essential to ensure that the nails you will choose are not less than 12-guage in thickness and head diameter will be ⅜-inches.
Here’s find a simple chart outlining common roofing materials and the recommended nail sizes for each:
| Roofing Material | Recommended Nail Size |
|---|---|
| Asphalt Shingles | 1 1/4-inch to 1 3/4-inch |
| Metal Roofing Panels | 1-inch to 1 1/2-inch |
| Wooden Shingles | 1 1/2-inch to 2-inch |
| Tile Roofing (Clay/Concrete) | 1 1/2-inch to 2 1/2-inch |
| Slate Roofing | 2 1/2-inch to 3-inch |
| Synthetic Roofing | 1 1/4-inch to 1 3/4-inch |
Please note that these are general recommendations, and the specific nail size may vary based on factors such as the thickness of the roofing material, local building codes, and manufacturer guidelines.
Always consult the manufacturer’s instructions and local regulations to ensure the appropriate nail size and type for your roofing project.
3. Safety Gear:
Always wear appropriate safety gear, including safety glasses, hearing protection, and a roofing harness if necessary. Roofing can be hazardous, so prioritize safety.
4. Prepare the Roof Surface:
Ensure the roof surface is clean and free from debris. It should also be dry to prevent slipping hazards.
5. Proper Nailing Pattern:
It is crucial to follow the proper nailing pattern to ensure a secure and long-lasting installation when using a nail gun for installing roofing materials.
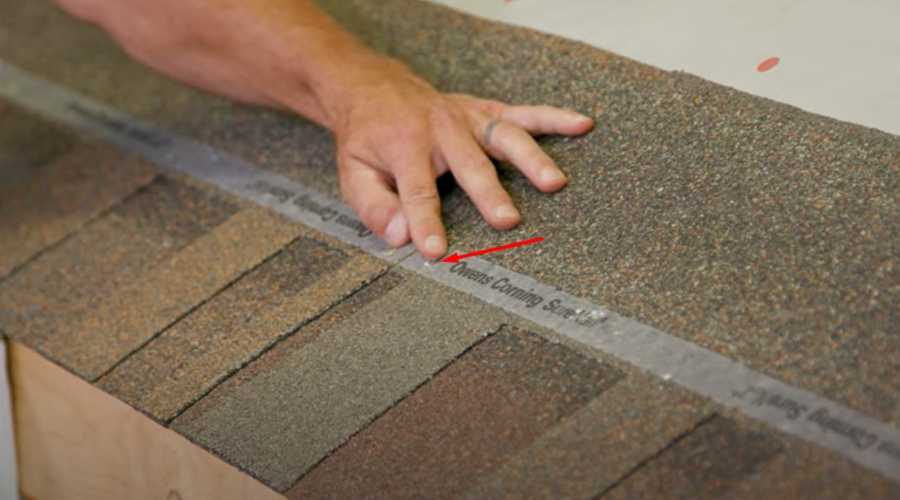
Follow the manufacturer’s guidelines and the local building code for the correct nailing pattern and spacing. Typically, nails should be placed in the designated nailing zones on the roofing material.
Always hold the nail gun perpendicular to the roofing shingles so that the nail head flush with but not cut through the materials.
It is also important to use the appropriate length of nails, which should extend at least 3/8 inch through the roof deck and into the framing below.
By following these guidelines, a professional-grade roofing installation can be achieved.
For your assistance, here we outlined a chart for the recommended nailing patterns for different roofing materials commonly used in roofing projects:
| Roofing Material | Recommended Nailing Pattern |
|---|---|
| Asphalt Shingles | Use a “6-nail” pattern for standard three-tab shingles, with two nails per shingle, placed approximately 1 inch above the cutout and 4-6 inches from each end. For architectural or dimensional shingles, follow manufacturer guidelines, typically requiring four nails per shingle. |
| Metal Roofing Panels | Nail through the raised ridges or seams, generally at intervals of 12 to 24 inches, depending on the specific design and manufacturer recommendations. Always use gasketed screws or nails to prevent water infiltration. |
| Wooden Shingles | Apply two nails per shingle, spaced evenly, about 1 inch above the buttline, and driven at a slight angle to ensure a secure fit. Ensure that nails do not split the shingle. |
| Tile Roofing (Clay/Concrete) | Use one or two nails per tile, depending on the tile’s size and weight. Place nails near the top of the tile, in line with the batten below. Follow manufacturer instructions for specific tile designs. |
| Slate Roofing | Secure each slate tile with two nails, typically placed near the top corners of the slate and above the overlap of the lower course. The pattern may vary based on the slate’s size and shape. |
| Synthetic Roofing | Follow manufacturer guidelines for nail placement and spacing, which can vary depending on the type of synthetic roofing material. Typically, nails are placed along the top edge of each shingle or panel. |
Please note that these are general recommendations, and the specific nailing pattern may vary based on factors such as local building codes, climate conditions, and manufacturer guidelines.
Always consult the manufacturer’s instructions and local regulations to ensure the appropriate nailing pattern for your roofing project.
6. Angle and Depth:
Position the nailer at the correct angle (often around 45 degrees) to ensure the nail penetrates the material and the roof deck properly. Adjust the nailer’s depth settings to ensure nails are driven to the correct depth without over-penetrating.
Here are the general guidelines for proper nailing angle and depth:
| Roofing Materials | Nailing Angle | Nailing Depth |
|---|---|---|
| Roofing Shingles (Asphalt or Wooden) | The ideal nailing angle for roofing shingles is approximately 45 degrees. This angle ensures that the nail securely penetrates both the shingle and the underlying roof deck or sheathing. The nail should be driven straight and not at a sharp angle to prevent shingle splitting. | The nail should be driven flush with the surface of the shingle. Avoid overdriving the nail, as this can damage the shingle or reduce its effectiveness. Underdriving should also be avoided, as it may lead to loose shingles. |
| Metal Roofing Panels | When securing metal roofing panels, aim for a 90-degree angle perpendicular to the roof’s surface. This ensures a tight and secure fit, especially for standing seam or corrugated metal panels. | Nails for metal roofing should be flush with or slightly below the surface of the panel. |
| Tile Roofing (Clay/Concrete): | For tile roofing, the nailing angle will depend on the specific design and manufacturer recommendations. In many cases, nails are driven straight through the tile and into the batten below. | The nailing depth for tile roofing will vary depending on the type of tile and manufacturer recommendations. In most cases, the nail should be driven to secure the tile without protruding through the bottom surface. |
It’s crucial to follow the manufacturer’s guidelines for the specific roofing materials you are working with, as different products may have variations in recommended nailing angles and depths.
Additionally, always use the appropriate type and length of nails or fasteners specified by the manufacturer to ensure a reliable and durable roofing installation.
7. Avoid Over-Driving:
Be cautious not to overdrive the nails, which can damage the roofing material or create weak points.
8. Consistent Pressure:
Maintain consistent pressure on the nailer’s trigger to ensure uniform nail placement.
9. Sequential Firing:
If your nailer has a contact or bump firing mode, use the sequential (single-shot) mode when working on a roof. This prevents accidental discharge and improves control.
10. Weather Considerations:
Pay attention to weather conditions. Roofing in extreme heat or cold can affect the performance of the nailer and the roofing materials. Adhere to manufacturer-recommended temperature ranges.
11. Inspect Regularly:
Periodically inspect your nailer for any signs of wear, damage, or malfunction. Replace worn parts and perform maintenance as needed.
12. Work Safely:
Move carefully on the roof, using proper safety precautions to avoid falls or accidents. Always follow OSHA safety guidelines and local regulations.
13. Cleanup:
Clean up the work area regularly to remove debris and nails that could pose a safety hazard.
14. Quality Control:
After the roofing job is complete, inspect the work to ensure all nails are properly secured and roofing materials are correctly installed.
Remember that using a power-driven nailer on roofing materials requires skill and attention to detail. If you’re not experienced with roofing, it’s advisable to consult with a professional or take a roofing installation course to ensure your work meets safety and quality standards.
Note: You may read our post on can you use a nail gun for shingles for professional recommendations on using a power driven nailer or nail gun on roofing materials and learning about the main mistakes that novices make when driving nails.
Does A Power-Driven Nailer Improve The Roofing Process?
Yes, a power-driven nailer can significantly improve the roofing process. These tools offer increased efficiency by allowing rapid and precise nail placement, saving both time and labor.
Roofing professionals benefit from reduced fatigue and enhanced safety, as these nailers often feature safety mechanisms to prevent accidents. Additionally, their versatility makes them adaptable to various roofing materials and project types.
Overall, power-driven nailers or roofing nailers are instrumental in achieving efficient, accurate, and safe roofing installations.
Therefore, they’re a preferred choice for many roofing professionals who want to make their work easier and make sure that roofing projects last a long time.
What Nail Gun Do You Use For Roofing?
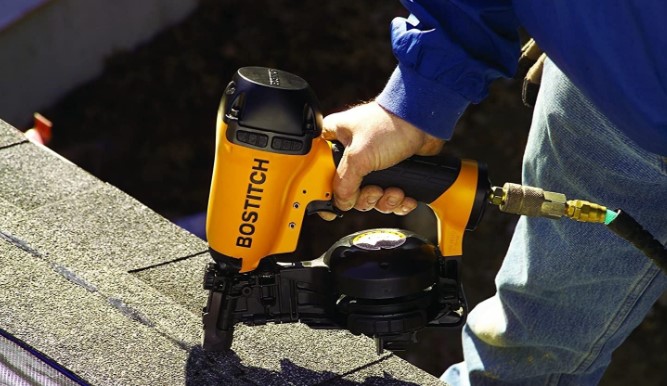
For roofing materials, the most commonly used power driven nail gun is a pneumatic roofing nailer. Pneumatic roofing nailers are specifically designed for roofing applications and are powered by compressed air from an air compressor.
They are equipped with features that make them suitable for securing roofing materials like shingles, such as adjustable nail depth settings and a sequential firing mechanism.
These nail guns are designed to efficiently drive roofing nails into various roofing materials while ensuring proper placement and a secure hold.
When choosing a nail gun for roofing, it’s important to select a pneumatic roofing nailer that is compatible with the type of roofing materials you’ll be working with and to follow the manufacturer’s guidelines and building code for nail size and placement.
FAQs: When Using A Power Driven Nailer On Roofing Materials
What is a power-driven nailer, and why should I use it for roofing materials?
A power-driven nailer, also known as a nail gun, is a specialized tool designed to drive nails into roofing materials quickly and efficiently. It’s recommended for roofing because it speeds up the installation process, ensures precise nail placement, and reduces labor fatigue, resulting in a more secure and weather-resistant roof.
Can I use the same nailer for different roofing materials?
It depends on the roofing nailer’s compatibility with the specific roofing materials. While some roofing nailers are versatile and can handle various materials, others are designed for specific types, like asphalt shingles or metal roofing. It’s essential to choose the right nailer for the roofing material you’re working with to ensure optimal results.
What is the proper nailing pattern for power-driven nailers on roofing materials?
The recommended nailing pattern varies depending on the type of roofing material. Generally, you’ll want to follow manufacturer guidelines, but a common practice is to use a staggered or straight-line pattern, ensuring consistent nail placement and spacing to maintain the roof’s integrity.
How do I ensure I’m using the correct nail size and depth with a power-driven nailer for roofing?
To determine the right nail size and depth, consult the manufacturer’s instructions for your roofing material and the nailer you’re using. Typically, the guidelines specify the appropriate nail length, angle, and depth to secure the roofing material effectively and prevent damage.
Are there any safety precautions I should take when using a power-driven nailer on roofing materials?
Yes, safety is paramount. Always wear appropriate personal protective equipment (PPE), including eye protection and hearing protection. Be cautious of the nailer’s exhaust and keep hands away from the nail exit point.
Ensure the nailer is properly maintained and never point it toward yourself or others. Familiarize yourself with the nailer’s safety features and always follow safe operating practices to prevent accidents.
Hand Nailing vs. Using a Nail Gun | Roofing Mythbusters – Episode #8
Conclusion
In the realm of roofing, the precision and quality of installation can’t be underestimated. We’ve explored the world of power-driven nailers, tools that have redefined roofing, enhancing efficiency and precision.
Key Takeaways: choose the right nailer for your roofing material, follow manufacturer guidelines meticulously, and prioritize safety measures.
With the right knowledge and tools, the roofing process becomes more than just a job; it transforms into an artistry of craftsmanship and reliability.
So, remember, when using a power-driven nailer on roofing materials, you’re not just securing shingles or tiles; you’re ensuring the shelter and safety of those beneath the roof.
Proper usage of these tools isn’t just a convenience—it’s a responsibility and a commitment to lasting quality in every roofing project.
Recent Posts
Woodworking is one of the most rewarding hobbies and professions, but it also comes with serious risks if proper precautions are not taken. Whether you're working with a table saw, planer, or simple...
What to Use If You Don't Have a Brad Nailer: Handy Alternatives
You can use a hammer and finishing nails paring with nail set or wood glue if you don't have a Brad Nailer. These tools effectively secure trim and small woodworking projects. So, if you’re in...