Step into the enchanting world of crafting Christmas magic, where the ordinary transforms into extraordinary and holiday decor becomes a masterpiece of personalized elegance. At the heart of this magical journey lies the Tools Mirror workshop, a haven for those who appreciate the art of crafting wooden snowflakes and ornaments.
In this exploration, we’ll unveil the intricate process of turning a simple piece of wood into timeless treasures, using precision tools like saws and routers.
Join us as we embark on a festive adventure, where every cut and carve brings the spirit of Christmas to life, creating decorations that stand apart in a world dominated by mass-produced ornaments.
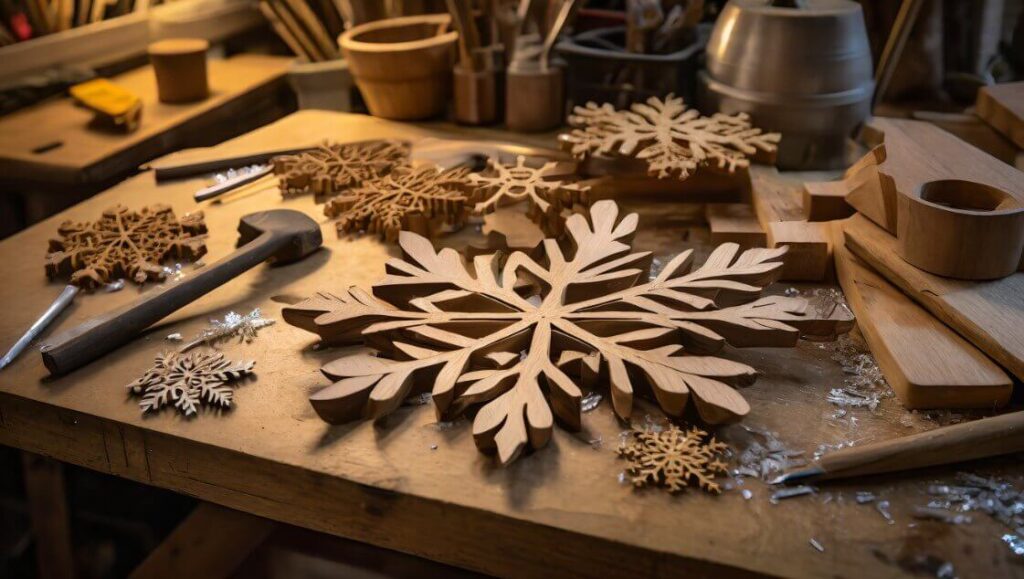
Choosing the Right Wood: The Foundation of Beauty
Crafting exceptional wooden snowflakes and ornaments begins with selecting the right wood. Quality hardwoods, such as oak or maple, provide the perfect canvas for your artistic endeavors. These woods offer durability and a smooth texture, ensuring that your creations stand the test of time.
Essential Tools for the Job
The power of precision lies in choosing the right tools. From jigsaws to scroll saws, each has its own unique advantages. If you need purely precise cutting, a scroll saw is the best option; for jig-jag cutting, a jigsaw will work best. To add dimension and depth, use a wood router.
Professional artisans prefer to use either a table saw or miter saw instead of a scroll saw to mass produce wooden snowflakes or ornaments.
Explore additional tools like sandpaper, wood glue, and carving knives for detailed work that adds finesse to your creations.
Designing Your Snowflakes
Start by sketching your ideas on paper. Whether you’re drawn to classic patterns or modern designs, let your creativity flow. Utilize online templates for inspiration, providing a foundation for your unique take on wooden snowflakes.

Precision Cuts with Expertise: Mastering the Art of Sawing
The first step in crafting wooden snowflakes and ornaments is mastering the art of sawing. Skilled artisans usually employ high-quality saws that guarantee precision cuts. Whether it’s a delicate snowflake or a charming ornament, the sawing process is where the magic begins.
As a do-it-yourselfer, we advise using the appropriate instruments to provide a pleasing tactile element to your job.
Choosing the Right Saw: A Crucial Decision
Choosing the right tools for crafting wooden snowflakes and ornaments is a crucial step in bringing your holiday visions to life. When precision is key, a scroll saw takes the spotlight, allowing intricate designs with its fine blades.
For larger, less intricate cuts, a jigsaw becomes the go-to, effortlessly shaping the overall form of your decorations. Think of the scroll saw as the artist’s brush, delicately detailing each snowflake, while the jigsaw serves as the sculptor’s chisel, carving out the broader strokes.
By understanding the distinct roles of these tools, you’ll sculpt holiday magic with the perfect blend of finesse and efficiency.
The Art of Sawing: Techniques for Perfection
Sawing is not just about cutting wood; it’s a dance between craftsman and tool. We emphasized the importance of controlled movements and a steady hand. This ensures that each cut is not just accurate, but also reflects the passion and dedication poured into every piece.
Sculpting Elegance with Routers: Elevating Your Creations
Once the intricate shapes are cut, it’s time to add depth and dimension. This is where routers come into play. It’s expected that you utilize precision routers to sculpt elegant details that elevate your wooden snowflakes and ornaments to a level of sophistication unmatched by mass-produced decorations.
The Versatility of Routers: From Edges to Intricate Designs
Routers offer versatility in design, allowing you to create everything from smooth edges to intricate patterns. Professional artisans leverage the precision of routers to add filigree details and intricate carvings, turning each piece into a work of art that tells a story of holiday enchantment.
Creating Wooden Ornaments
From simple shapes to elaborate figures, wooden ornaments offer endless possibilities. Add a personal touch by incorporating details like engraved initials or painted accents. Your creations become more than decorations; they become cherished memories.

Safety Measures in Crafting
Crafting is a joy, but safety is paramount. Protect yourself with safety glasses, ear protection, and a well-ventilated workspace. Keep tools organized and follow safety guidelines diligently to ensure an enjoyable crafting experience.
Finishing Touches : Sanding and Smoothing
To ensure the final product is not just visually stunning but also tactilely pleasing, the finishing touches are crucial. We emphasized sanding and smoothing the edges of our creations, which are crucial for a polished look.
We also choose staining or painting techniques that complement our style. The finishing touches help us elevate our wooden snowflakes and ornaments to a professional level.
Preserving Your Creations
Apply a sealant to protect your creations from wear and tear, ensuring longevity. Store wooden ornaments properly, away from direct sunlight and extreme temperatures, to preserve their beauty for years to come.
Personalized Engravings: A Lasting Impression
To make your decorations truly one-of-a-kind, consider adding personalized engravings. Whether it’s a family name, a special date, or a festive message, our artisans use high-precision engraving tools to etch your sentiments onto the wood, creating a lasting impression for generations to come.
Finishes and Stains: Elevating the Aesthetic
The choice of finish can significantly impact the overall aesthetics of your creations. From natural finishes that highlight the wood’s grain to rich stains that add warmth, our extensive range of finishes ensures that your wooden snowflakes and ornaments align seamlessly with your holiday decor theme.
Sharing the Joy: Crafting with Family and Friends
Organize crafting sessions with family and friends to share the joy of creating together. These moments become cherished memories, creating a tradition that goes beyond the final product.
Showcasing Your Creations
Share your creations on social media platforms dedicated to crafters. Join crafting communities, exchange ideas, and celebrate the diverse world of handmade Christmas decor. Your unique creations inspire others to embark on their crafting journeys.
Benefits of Wooden Snowflake and Ornament Crafting
Engage in a therapeutic and stress-relieving hobby as you immerse yourself in the creative process. Crafted wooden ornaments become meaningful gifts with a personal touch, conveying love and thoughtfulness.
The Allure of Handcrafted Christmas Decor
In a world often dominated by commercialized products, handcrafted Christmas decor stands out. Embrace the allure of uniqueness and cherish the traditions of crafting decorations that tell your story.
DIY Examples: Snowflakes and Ornaments
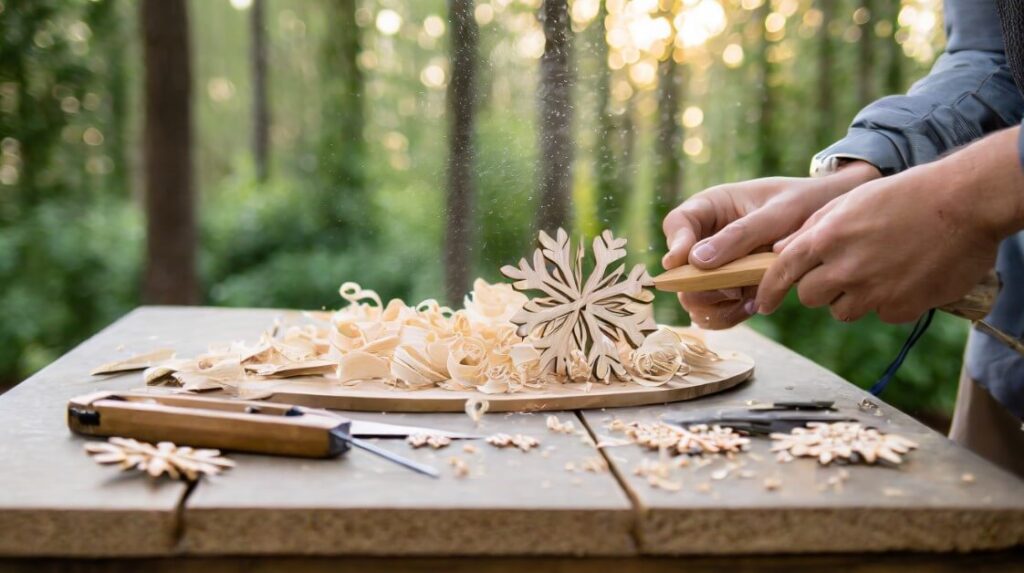
Intricate Wooden Snowflake with a Scroll Saw:
Start by selecting a small, thin piece of wood. Draw your snowflake design or download a template online. Secure the wood and carefully use a scroll saw for precision cuts along the intricate lines. Sand the edges for a smooth finish.
For added flair, use a router to create subtle grooves or bevels along the snowflake’s arms, adding dimension to your creation.
Jigsaw-Crafted Wooden Ornament:
Choose a thicker wood for this project. Draw your desired ornament shape or find a template. Use a jigsaw for the larger cuts, shaping the basic form of your ornament. Smooth the edges with sandpaper.
Next, employ a router to engrave personalized details, whether it’s a special date, a festive message, or intricate patterns. The combination of jigsaw and router allows for both structural integrity and artistic customization.

Layered Wooden Snowflake with Scroll Saw and Router:
Opt for multiple thin layers of wood. Cut out snowflake layers using a scroll saw, ensuring each layer is slightly smaller than the previous one. Stack and glue the layers together. Use the scroll saw to refine the overall shape.
Then, use a router to add decorative edges or patterns to each layer. The result is a stunning, multidimensional wooden snowflake that showcases the capabilities of both tools.
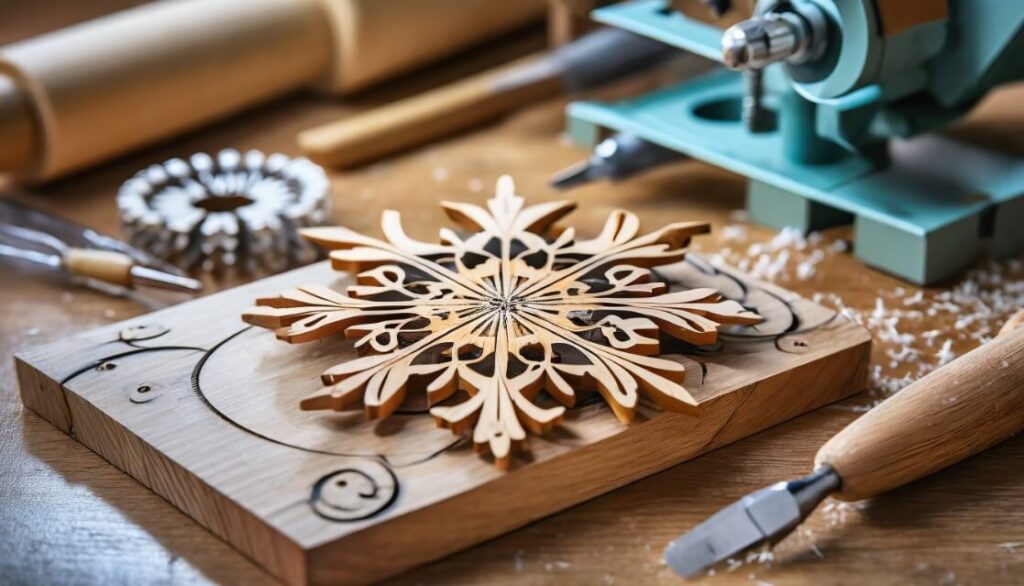
These DIY examples showcase the versatility of saws and routers, empowering you to craft wooden snowflakes and ornaments that are not only visually appealing but also uniquely tailored to your creative vision.
Inspirations: Crafting Christmas Magic
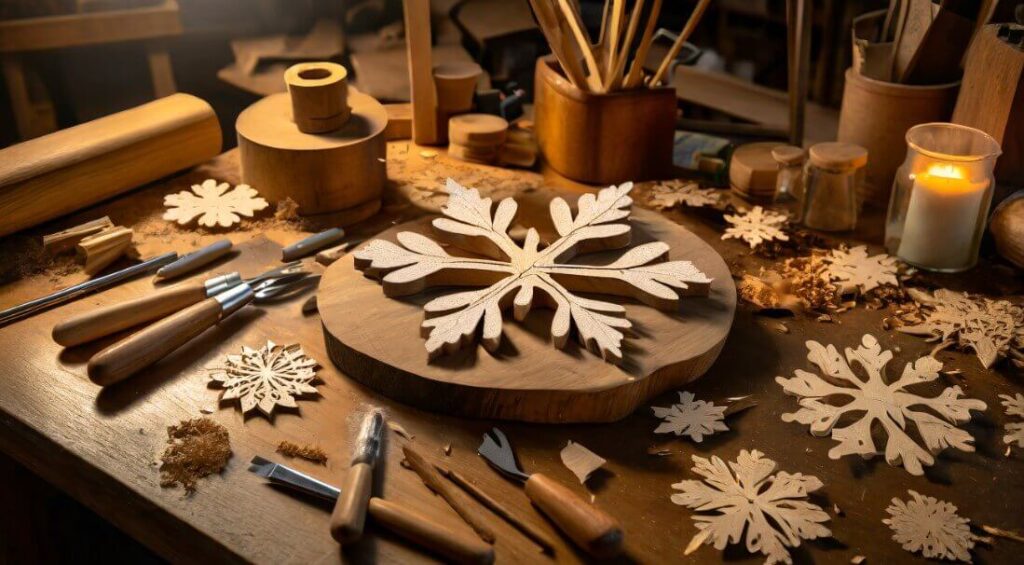
1. Nature-Inspired Elegance:
Draw inspiration from the delicate patterns found in nature. Craft wooden snowflakes with intricate, leaf-like edges using a scroll saw.
Enhance the organic feel by using a router to add subtle textures resembling tree bark or frosty branches.
These ornaments bring a touch of the outdoors inside, creating a harmonious blend of natural beauty and holiday spirit.
2. Personalized Family Keepsakes:
Transform simple wooden shapes into cherished family ornaments. Use a jigsaw to cut out shapes representing each family member’s interests or hobbies.
Employ a router to engrave names, memorable dates, or short messages.
These personalized ornaments become a heartwarming addition to your tree, telling the story of your family’s unique journey through the years.
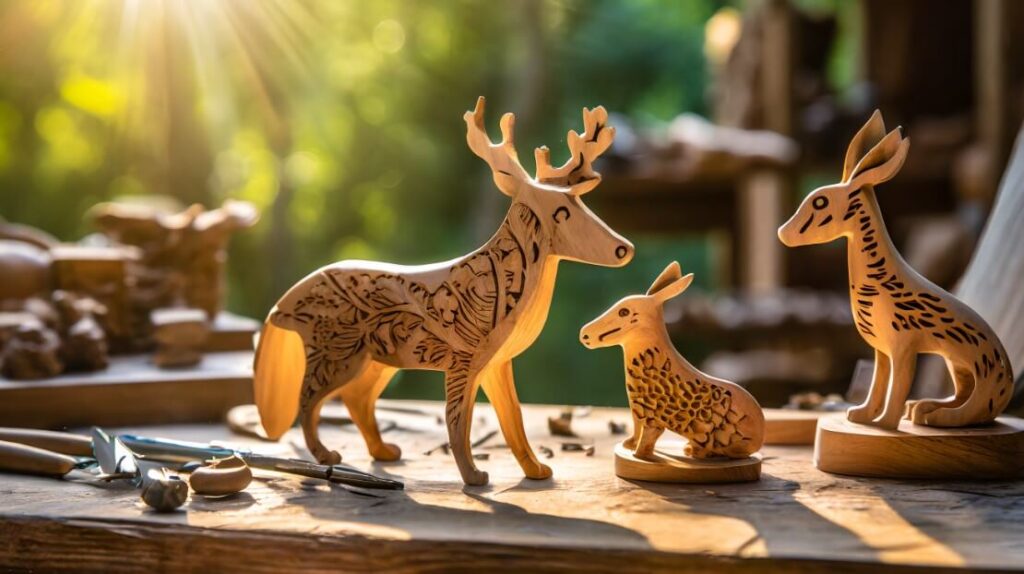
3. Geometric Modernity:
Embrace a modern aesthetic by crafting geometric wooden ornaments. The precision of a scroll saw allows you to create clean lines and intricate angles.
Use a router to add sleek patterns or cutouts for a contemporary touch.
Paint or stain the ornaments in bold, minimalist colors to complement your modern holiday decor. These wooden creations bring a stylish and sophisticated vibe to your festive display.
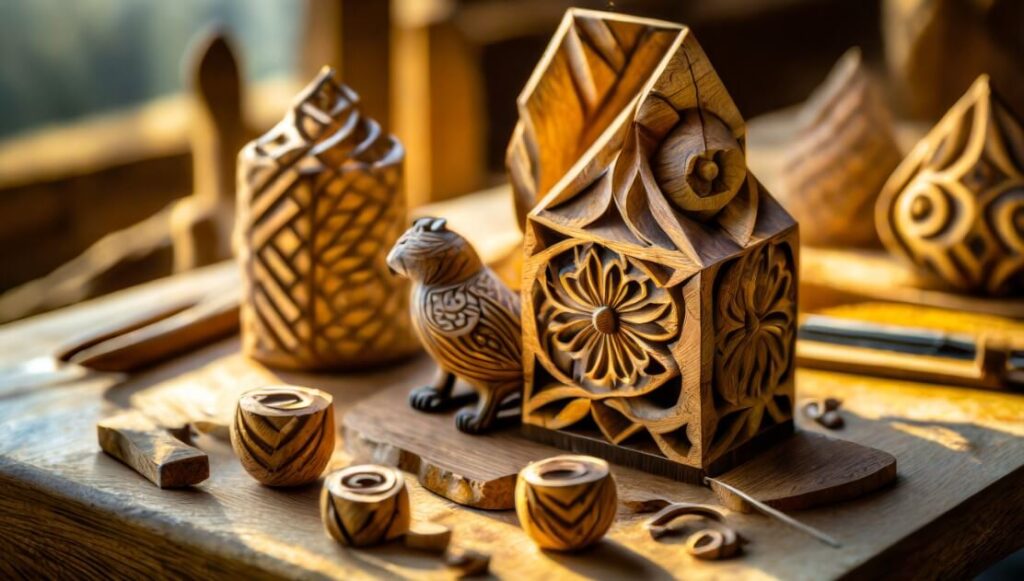
4. Whimsical Layered Designs:
Experiment with the layering technique to add depth and whimsy to your wooden snowflakes. Cut multiple layers with a scroll saw, each featuring a unique pattern.
Stack and glue them together, creating a captivating 3D effect. Use a router to accentuate the layers with decorative grooves or accents.
These whimsical creations capture the magic of the season with their enchanting, multidimensional appeal.
5. Rustic Charm:
Embrace the warmth of rustic decor by crafting wooden ornaments with a weathered, handmade feel. Use a jigsaw to cut simple shapes like stars or hearts from reclaimed wood.
Distress the edges for a worn look. Employ a router to add subtle details or personalized messages.
Finish with a light stain to enhance the natural beauty of the wood. These rustic ornaments bring a cozy, nostalgic charm to your holiday display.
Conclusion
As you embark on the journey of crafting Christmas magic with wooden snowflakes and ornaments, remember that the true beauty lies in the process. Embrace the joy of creation, the satisfaction of personalization, and the warmth that handmade decorations bring to your home.
FAQs: Crafting Christmas Magic with Wooden Snowflakes and Ornaments
Do I need advanced woodworking skills to craft wooden snowflakes and ornaments?
Not at all! Basic sawing skills are sufficient, and there are plenty of beginner-friendly designs to start with.
Can I use any type of wood for crafting ornaments?
While various woods can be used, it’s recommended to choose softer varieties, like pine, for easier sawing.
How can I make my creations more personal?
Consider adding names, dates, or personal messages to your wooden snowflakes and ornaments.
Is it safe to use power saws for crafting at home?
Yes, but it’s crucial to follow safety guidelines, wear protective gear, and work in a well-ventilated space.
Where can I find inspiration for unique designs?
Online platforms, crafting communities, and even nature itself can provide endless inspiration for your creations.
Recent Posts
Woodworking in 2025 is all about efficiency, precision, and smart technology. Whether you're a beginner or a seasoned craftsman, having the right tools can make all the difference. Here are the top 7...
Ever tried drilling into a piece of wood only to end up with a splintered mess or a wobbly hole? Yeah, it's more common than you think. Wood might seem like an easy material to work with, but...
